


Description
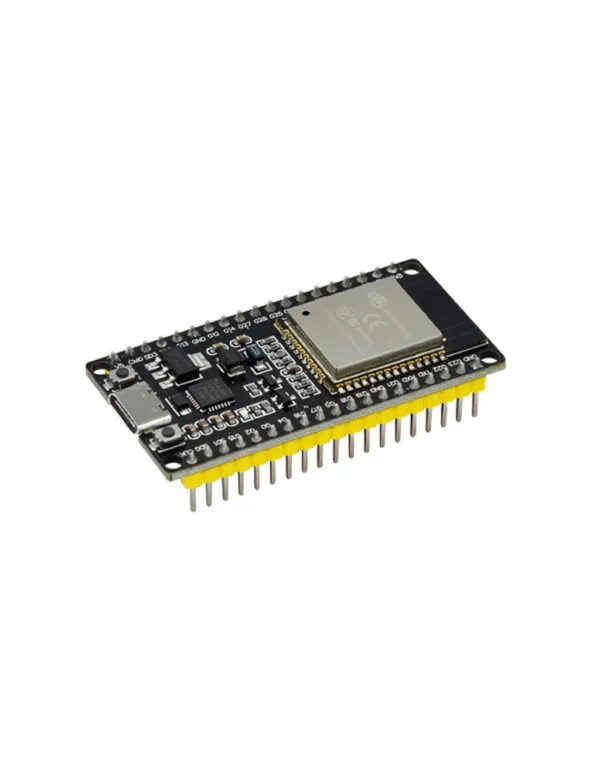
PRE-SOLDERED
TYPE-C + CH340
CLASSIC BT + BLE
AVAILABLE IN BANGLADESH
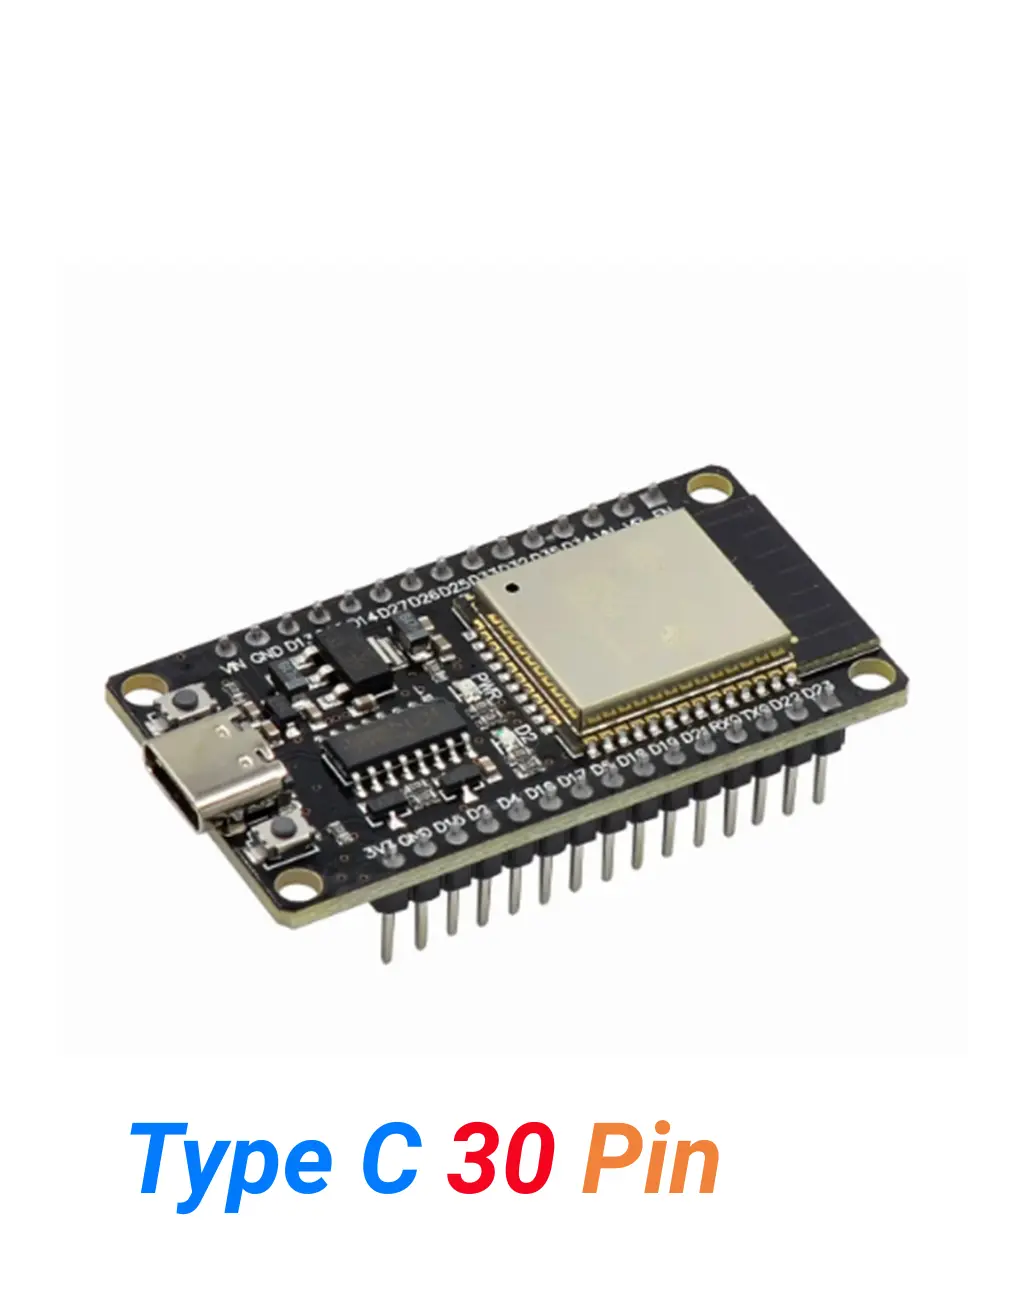
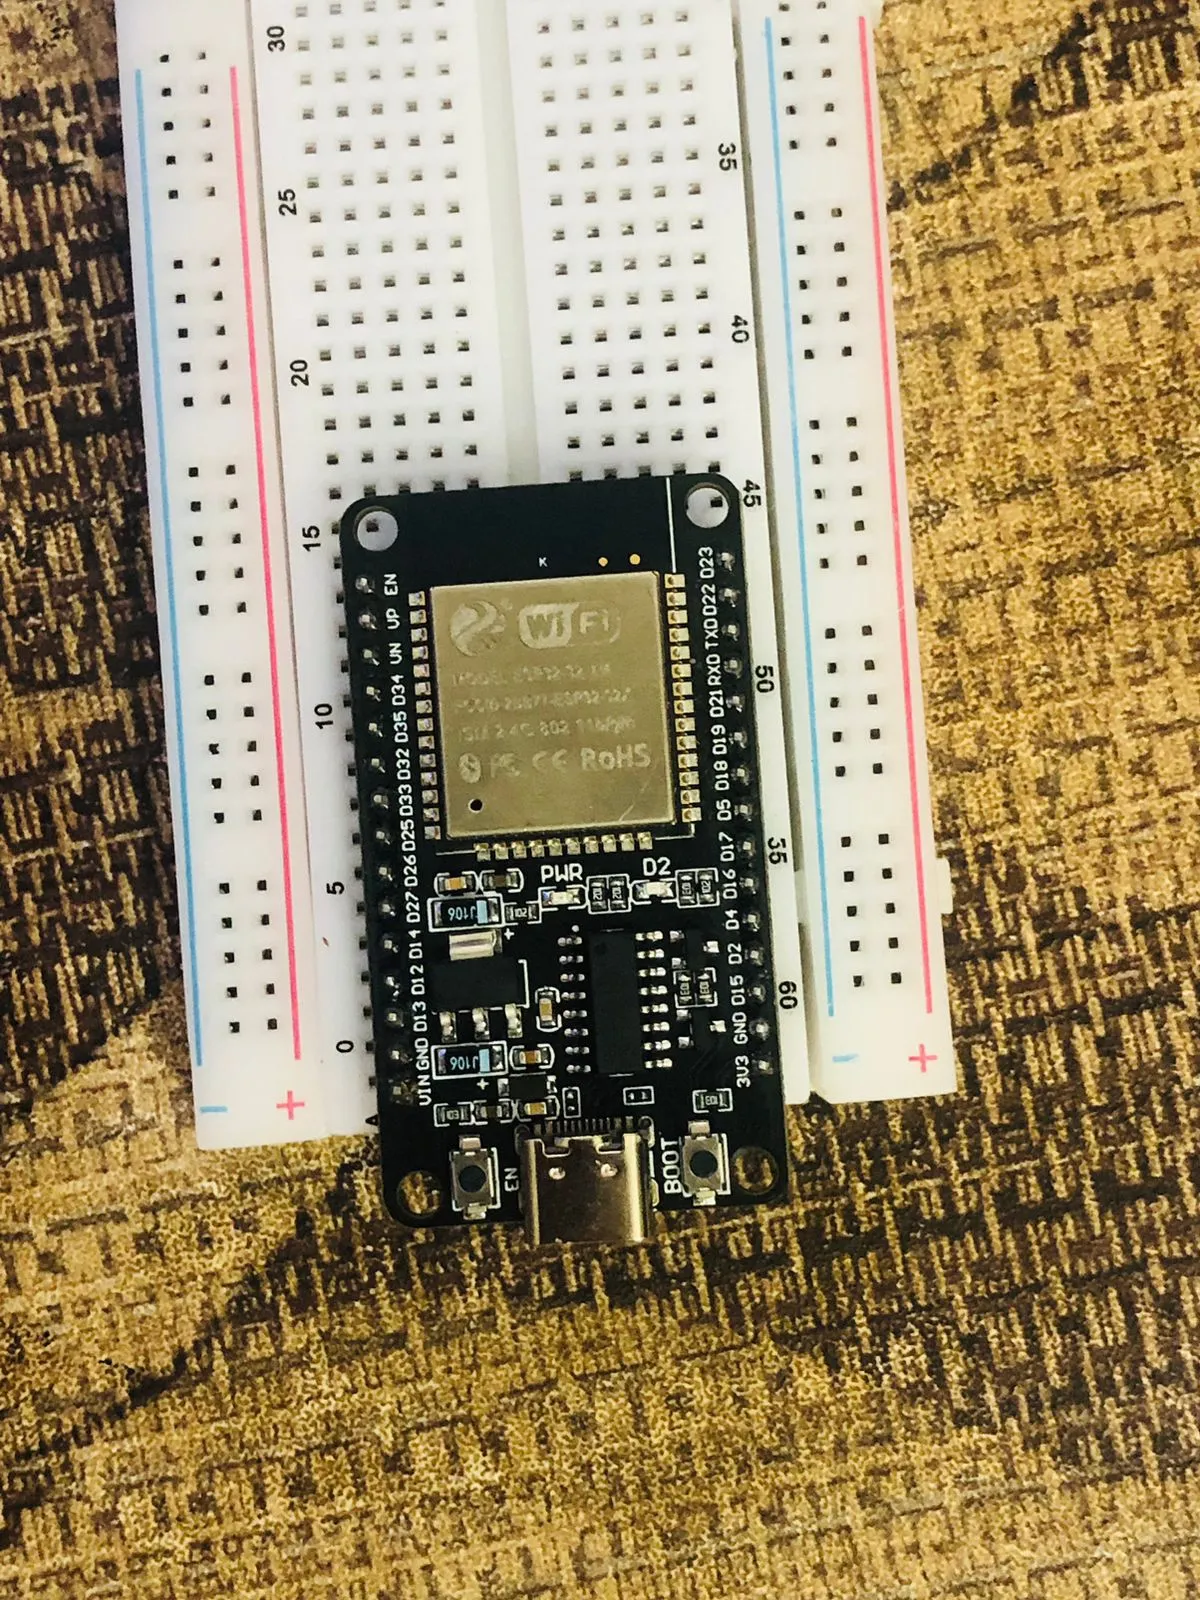
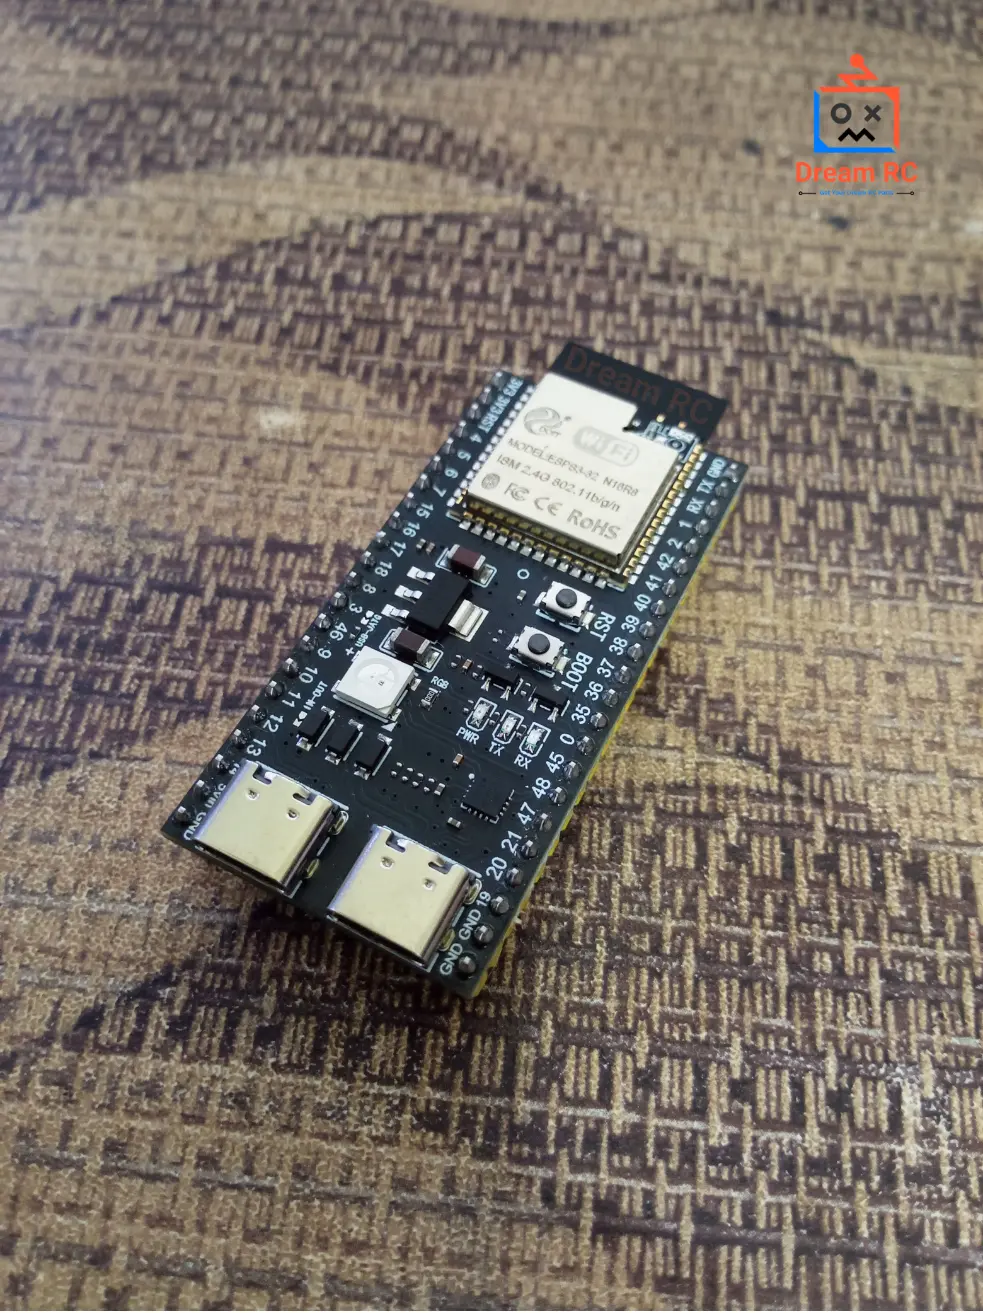
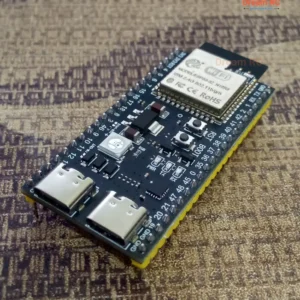
ESP32 Type-C (30 Pins)
Espressif’s most popular Wi-Fi + Bluetooth development board — dual-core LX6 processor at 240 MHz, Classic Bluetooth 4.2 + BLE, 4 MB Flash, 22+ usable GPIO, and deep sleep at 10 µA. The definitive board for IoT, smart home, Bluetooth control, and battery-powered sensor projects in Bangladesh.
CPU
240MHz
Dual-core LX6
FLASH
4MB
NOR storage
WIRELESS
WiFi+
BT+BLE
3 wireless modes
SLEEP
10µA
Deep sleep
GPIO
22+
Usable pins
USB
Type-C
CH340
USB-to-UART
The ESP32 Type-C (30 Pins) is Espressif’s most widely used Wi-Fi and Bluetooth development board — and for good reason. It combines a dual-core Xtensa LX6 processor at 240 MHz, Classic Bluetooth 4.2, BLE 4.2, and 802.11 b/g/n Wi-Fi on a single chip, making it the most capable board at its price point for IoT, home automation, Bluetooth control, and battery-powered sensor projects. With 4 MB of Flash, 520 KB of SRAM, two hardware DAC outputs, 10 capacitive touch pins, and deep sleep current as low as 10 µA, the ESP32 handles a remarkable range of applications.
This unit uses a CH340 USB-to-UART chip with a Type-C USB port and ships with fully pre-soldered pin headers — plug in and start coding immediately. This complete guide covers everything: 30-pin vs 38-pin differences, processor deep dive, WiFi and Bluetooth range, full pinout, LED behaviour, CH340 driver install, Arduino IDE settings, copy-paste code with free downloads, ESP-NOW mesh networking, troubleshooting, and the best price in Bangladesh.
🎬 ESP32 Type-C 30 Pin — Watch Before You Build
Watch this complete walkthrough of the ESP32 Type-C 30 Pin — specs explained, 30-pin vs 38-pin comparison, CH340 driver setup, Arduino IDE configuration, and a live WiFi + Bluetooth demo.
This is the complete product guide and technical description for the ESP32 Type-C 30 Pin development board available in Bangladesh from Dream RC at 479 BDT. This page covers the difference between 30-pin and 38-pin ESP32, dual-core LX6 processor specs, Classic Bluetooth 4.2 and BLE explained, WiFi and Bluetooth range data, full pinout guide, GPIO reliability, LED behaviour, CH340 driver installation, Arduino IDE settings, downloadable code examples for WiFi and Bluetooth, ESP-NOW mesh networking, and full troubleshooting guide. Whether you are searching for ESP32 price in Bangladesh, how to use Classic Bluetooth Serial, or the difference between ESP32 and ESP8266 — this page has everything.
📑 Table of Contents — ESP32 Type-C 30 Pin
This complete guide covers everything about the ESP32 Type-C (30 Pins) — from the 30-pin vs 38-pin difference and processor deep dive to pinout, code examples, and where to buy the best price in Bangladesh.
- Quick Specs at a Glance
- Official Datasheet & Resources
- 30-Pin vs 38-Pin — Which to Choose?
- Processor Deep Dive — Dual-Core LX6
- Key Features
- Classic Bluetooth + BLE Deep Dive
- WiFi & Bluetooth Range (Real Data)
- Deep Sleep & Battery Life
- Peripherals — DAC, Touch, ADC, I2S
- Pinout Diagram + Color Legend
- Pin Reliability Guide
- LED Behaviour Guide
- Boot & Reset Buttons
- What You Can Build
- Who Should Buy This?
- ESP32 vs ESP8266 vs ESP32-S3
- Full Specifications Table
- CH340 Driver — Install Guide
- Arduino IDE Settings
- Code Examples + Free Downloads
- ESP-NOW & Mesh Networking
- Troubleshooting
- FAQ
- Learning Resources & Blog Posts
- Compatible Products
- Price in BD & Why Dream RC
⚡ Quick Specs at a Glance
240MHz
DUAL-CORE LX6
4MB
FLASH STORAGE
520KB
INTERNAL SRAM
WiFi +
BT+BLE
802.11n + BT 4.2
10µA
DEEP SLEEP
22+
USABLE GPIO
📚 Official Datasheet & Resources
Always use official Espressif documentation for accurate specs. Every link below is the primary source — bookmark these before starting your project.
📐 30-Pin vs 38-Pin ESP32 — Which Should You Choose?
The ESP32 comes in two popular pin-count variants. Both use the identical ESP32 chip with the same processor, WiFi, Bluetooth, Flash, RAM, and performance. The only difference is how many GPIO pins are physically broken out on the PCB. Here is exactly what changes and what to pick:
BOARD VARIANT DECODER
ESP32 — 30-Pin vs ESP32 — 38-Pin
30
THIS BOARD
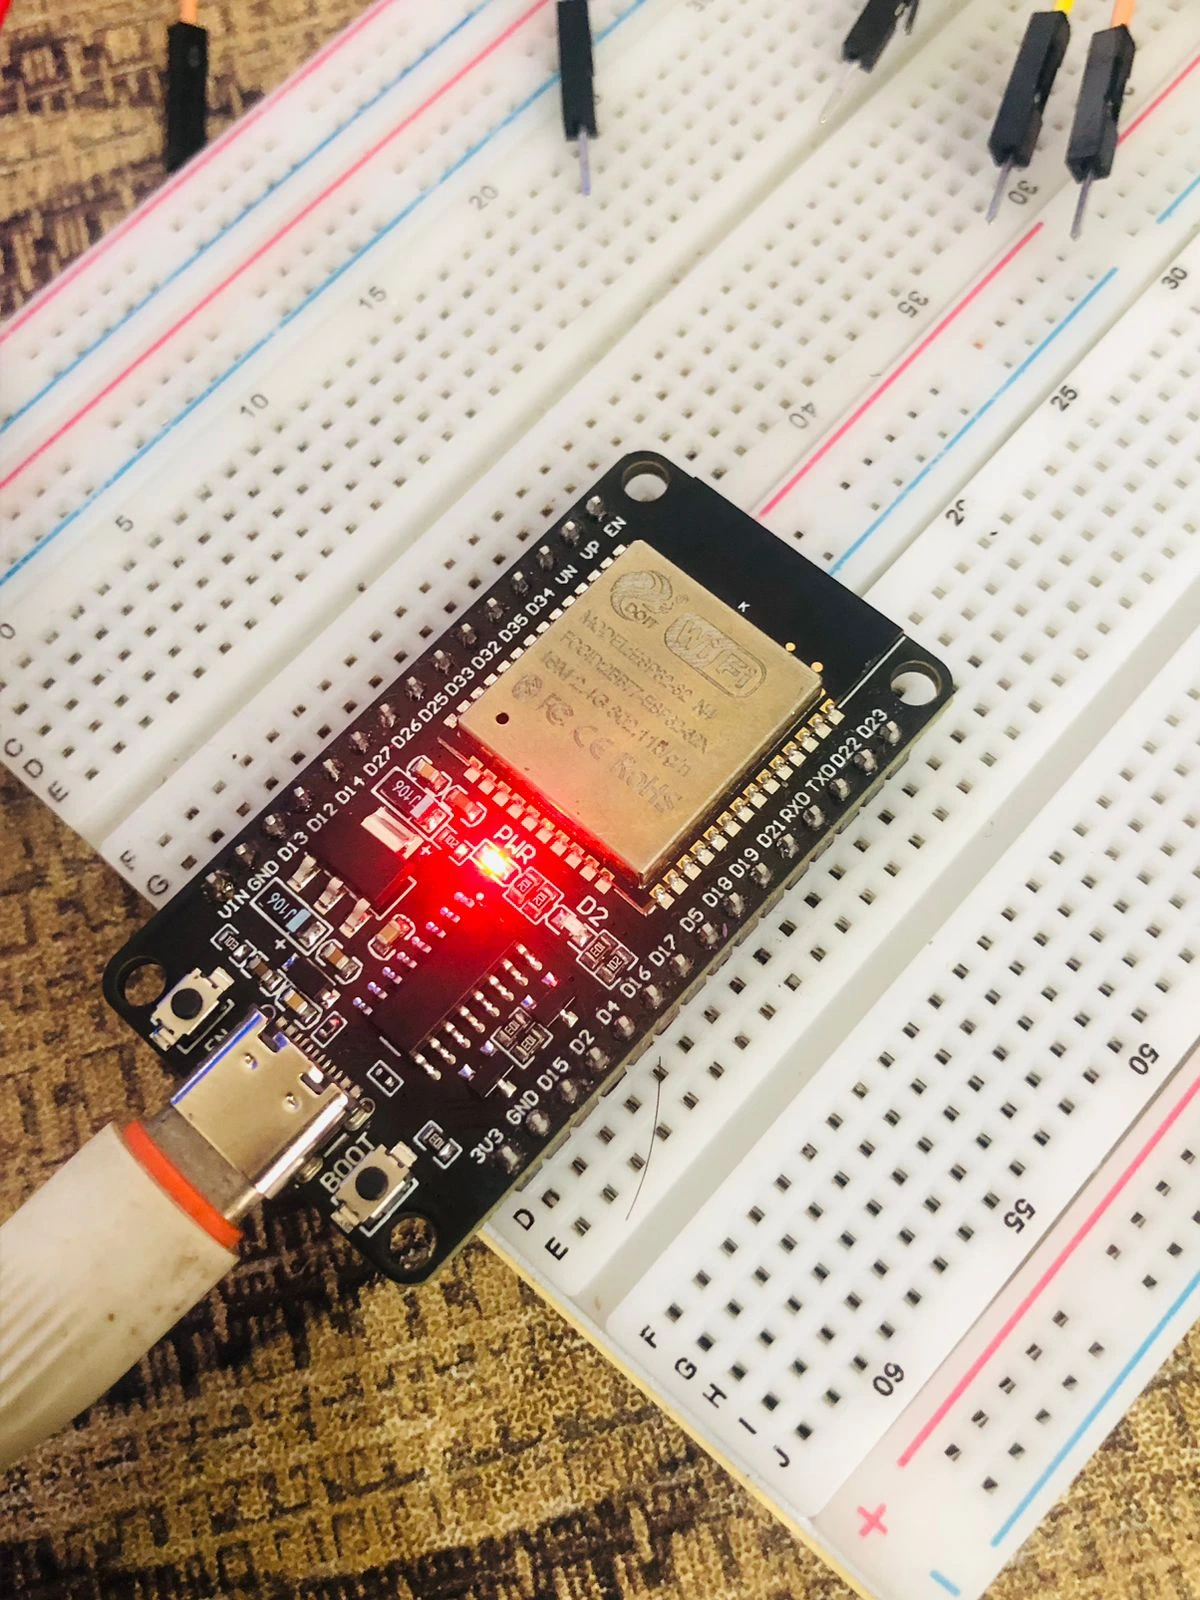
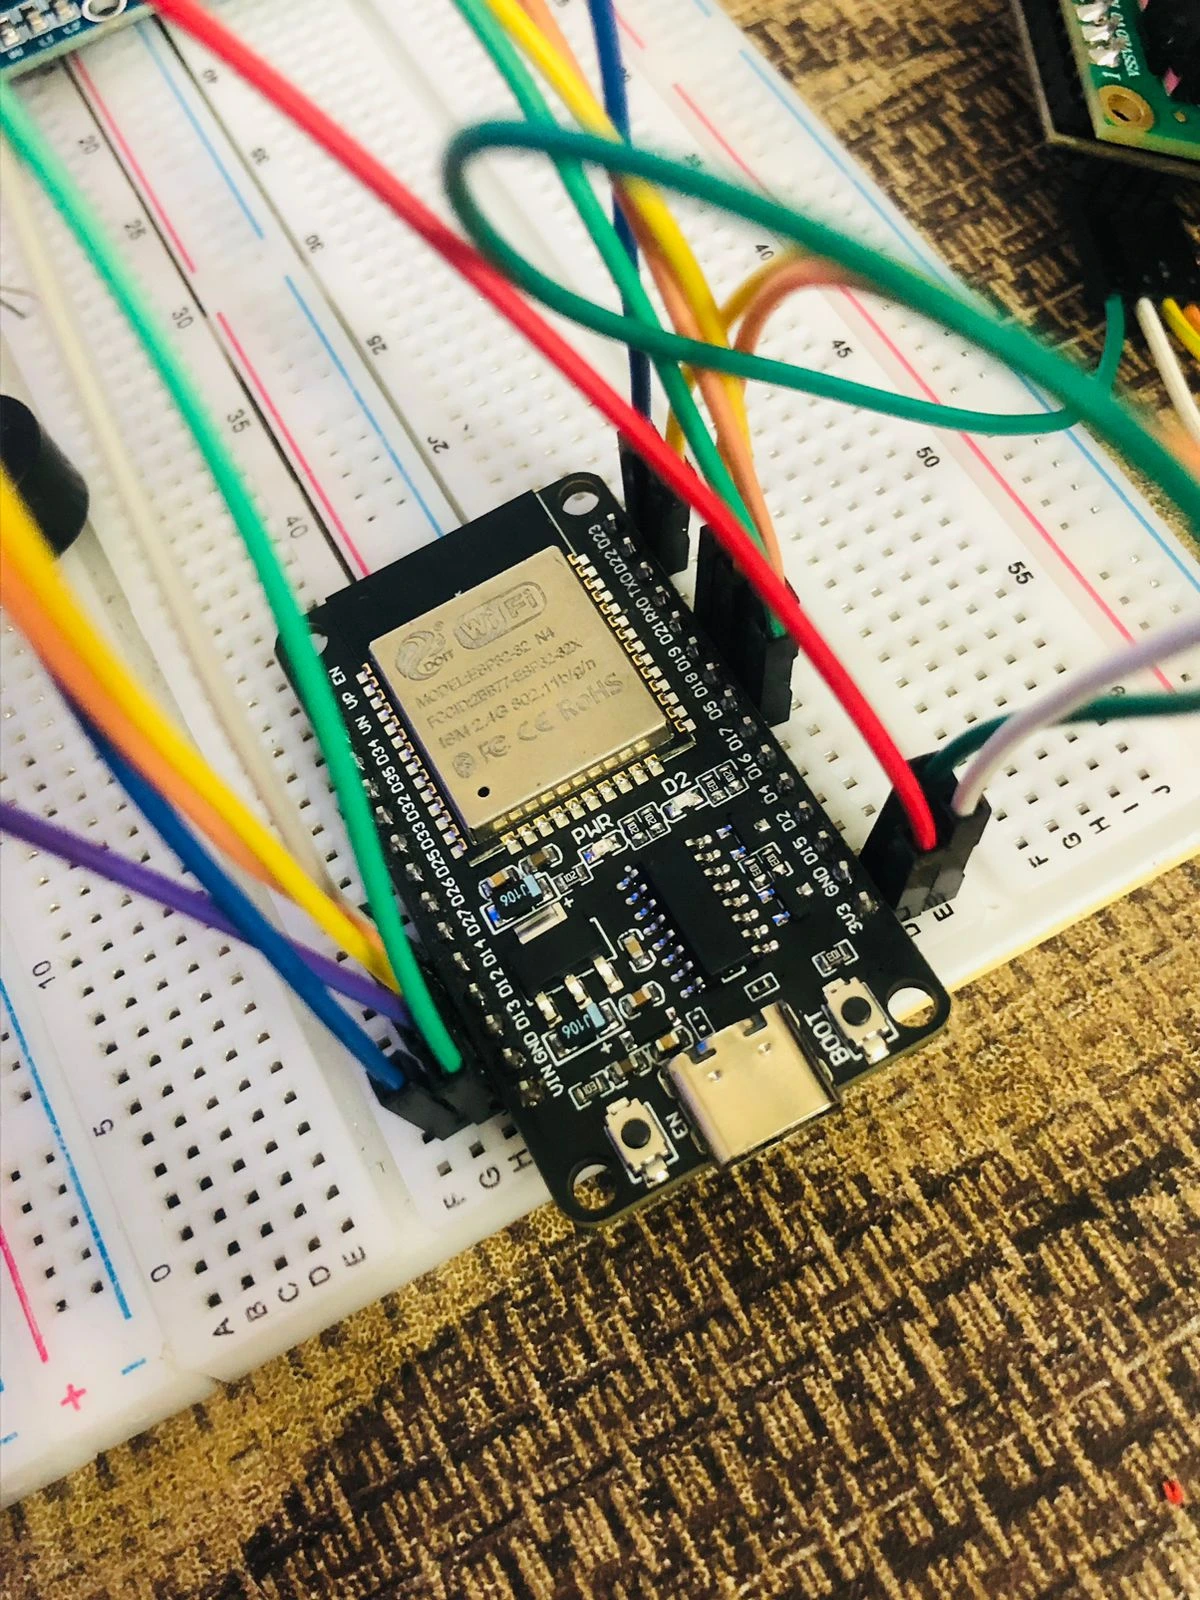
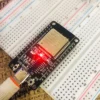
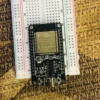
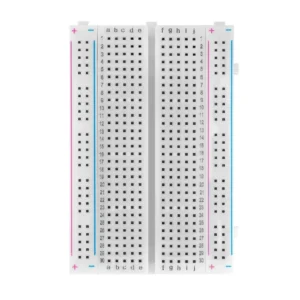
Narrower PCB. Fits on a standard 830-point breadboard with 1 clear column on each side for jumper wires. Exposes ~22 usable GPIO. Best for most projects.
38
WIDER VARIANT
Wider PCB. Spans the full breadboard — no room on sides without a second breadboard. Exposes ~30 usable GPIO including extra ADC2 channels. Best when you need every pin.
| Feature | THIS BOARD ESP32 30-Pin | WIDER VARIANT ESP32 38-Pin |
|---|---|---|
| Chip / Performance | Identical ESP32 chip ✓ | Identical ESP32 chip ✓ |
| PCB Width | Narrow — breadboard friendly | Wide — spans full breadboard |
| Usable GPIO | ~22 GPIO | ~30 GPIO (8 extra) |
| ADC2 Channels | Limited access | More ADC2 exposed |
| WiFi / BT / Performance | 100% same | 100% same |
| Best For | Most projects — best default choice | Large projects needing every GPIO |
🧠 Processor Deep Dive — Dual-Core Xtensa LX6
The ESP32 runs an Xtensa LX6 dual-core processor — two fully independent 32-bit cores each running at up to 240 MHz. Here is what this architecture means for your projects in practice:
⚙️
Two Independent Cores
Core 0 runs the WiFi and Bluetooth protocol stacks. Core 1 is entirely free for your application code. This means WiFi and Bluetooth activity do not slow down sensor reading, display updates, or servo control on Core 1.
Real benefit: smooth 60fps servo control while streaming WiFi data simultaneously
📶
802.11 b/g/n WiFi — 2.4 GHz
Full TCP/IP stack built in. Connects to any standard router. Supports Station mode (connect to router), Soft-AP mode (create your own network), and both simultaneously. Max theoretical 150 Mbps on n mode.
Note: 2.4 GHz only — cannot connect to 5 GHz networks
📡
Classic BT 4.2 + BLE 4.2
The only popular ESP32 variant with full Classic Bluetooth including SPP Serial Port Profile (BluetoothSerial.h) and A2DP audio streaming. BLE 4.2 for low-power sensor advertising. This dual capability is exclusive to original ESP32.
Key differentiator vs ESP32-S3 which dropped Classic BT entirely
📻
Ultra Low Power Architecture
5 power modes: Active, Modem-Sleep, Light-Sleep, Deep-Sleep, Hibernation. Deep sleep drops to 10 µA with RTC timer running. Hibernation drops to ~5 µA. The RTC domain stays active for scheduled wake-ups even in the deepest sleep modes.
Real benefit: years of battery life on AA cells for sensor nodes
⭐ Key Features
Dual-Core LX6 @ 240 MHz
Two independent cores — WiFi stack on Core 0, your code runs uninterrupted on Core 1
Classic BT 4.2 + BLE 4.2
Full Serial BT + audio BT + BLE — unique to original ESP32, not available on S3 or ESP8266
WiFi 4 — 2.4 GHz
802.11 b/g/n Station + AP + both modes simultaneously
Deep Sleep — 10 µA
Months of battery life — RTC stays active for scheduled wake-ups
Two 8-bit DAC Outputs
GPIO 25 & 26 output true analog voltage — unique feature not on ESP8266 or ESP32-S3
10 Capacitive Touch Pins
Detect finger touch without physical contact — build touchless interfaces
Type-C USB + CH340
Reversible connector with reliable CH340 USB-to-UART bridge — pre-soldered headers
ESP-NOW & Mesh Ready
Peer-to-peer wireless without a router — up to 20 paired devices, 250 bytes per packet
📡 Deep Dive — Classic Bluetooth + BLE (The ESP32 Advantage)
This is the most important differentiator of the original ESP32. It supports Classic Bluetooth 4.2 AND BLE 4.2 simultaneously. The ESP32-S3 dropped Classic Bluetooth entirely to add Native USB and AI instructions. The ESP8266 has zero Bluetooth. If your project needs Classic BT — this is your board.
📲
Bluetooth Serial (SPP)
Use BluetoothSerial.h to create a virtual serial port over Classic BT. Any Android phone with the free Serial Bluetooth Terminal app can connect and exchange data. No pairing code needed in most cases.
Real use: phone-controlled robot, relay switch, LED controller
🎵
Bluetooth Audio (A2DP)
Receive audio from a phone over Classic Bluetooth A2DP profile and output to a speaker via I2S. Using the ESP32-A2DP library, the ESP32 becomes a Bluetooth speaker receiver in under 20 lines of code.
Real use: DIY Bluetooth speaker with MAX98357A amplifier
🔌
BLE Sensors & Beacons
BLE 4.2 for ultra-low-power sensor advertising. Broadcast temperature, humidity, or GPS data to any phone or BLE gateway without a pairing. Battery lasts months in BLE-only mode.
Real use: BLE environmental sensor node, iBeacon, asset tracker
🎮
Bluetooth Game Controller
Pair two ESP32 boards over Classic Bluetooth to build a wireless game controller. One board reads joystick and buttons, sends commands over BT Serial to the second board controlling motors or servos.
Real use: wireless RC car, drone controller, robot arm
📡 Deep Dive — Wi-Fi + Bluetooth Range (Real-World Numbers)
These are real-world measurements using the ESP32’s built-in PCB antenna. Range depends heavily on obstacles, interference, and antenna orientation:
| Scenario | WiFi Range | Classic BT | BLE Range | Notes |
|---|---|---|---|---|
| Open field (LOS) | 100–150 m | ~10 m | ~80 m | No obstacles, clear line of sight |
| Indoor same floor | 50–80 m | ~8 m | 30–50 m | Typical home or office — a few walls |
| Through 2–3 walls | 20–30 m | 4–5 m | ~15 m | Concrete or brick walls reduce BT heavily |
| Different floors | 10–15 m | 2–3 m | ~8 m | Reinforced concrete slabs block 2.4 GHz |
| ESP-NOW (no router) | 200–500 m | N/A | N/A | Low latency direct P2P — no router needed |
1. Keep the antenna end (opposite side from USB) clear of metal and enclosure walls.
2. Connect to 2.4 GHz band only — split your router SSID if needed.
3. Set max TX power:
WiFi.setTxPower(WIFI_POWER_19_5dBm); after WiFi.begin().4. For 500 m+ wireless coverage use ESP-NOW relay nodes — no router required, works indoors through walls.
📻 Deep Dive — Deep Sleep & Battery Life
The ESP32’s power architecture is designed for battery applications. At 10 µA in deep sleep with the RTC timer running, a single 18650 Li-ion cell can keep the board in standby for over 20 years theoretically. Real sensor projects with periodic WiFi uploads achieve 3–12 months per charge.
| Power Mode | Current Draw | What stays active |
|---|---|---|
| Active (WiFi TX) | ~240 mA peak | Everything — CPU, WiFi radio, peripherals |
| Active (CPU only) | ~80–100 mA | CPU running, WiFi radio off |
| Modem Sleep | ~20 mA | CPU active, WiFi sleeps between packets (DTIM) |
| Light Sleep | ~0.8 mA | CPU paused, RAM retained, wakes on timer/GPIO |
| Deep Sleep | ~10 µA | RTC timer + RTC memory only — wakes on timer or GPIO |
| Hibernation | ~5 µA | RTC timer only — wakes on timer or EXT0 pin only |
🔩 Peripherals — DAC, Touch, ADC, I2S, SPI, I2C, UART
The ESP32 packs an unusual number of hardware peripherals for its price. Here are the most useful ones and what you can actually do with them:
🔢 2× 8-bit DAC (GPIO 25, 26)
True analog voltage output 0–3.3V. Use for audio tone generation, analog control signals, or waveform output. Not available on ESP8266 or ESP32-S3.
👋 10× Capacitive Touch
GPIO 0, 2, 4, 12–15, 27, 32, 33. Detect finger touch without mechanical contact. Can also wake ESP32 from deep sleep on touch.
🌹 18× 12-bit ADC Channels
ADC1 (GPIO 32–39) works reliably with WiFi. ADC2 (GPIO 0–27 subset) is disabled when WiFi is active. Resolution 0–4095 for 0–3.3V input.
🎶 2× I2S Audio Interface
High-quality audio input (INMP441 microphone) and output (MAX98357A amplifier). Supports 8–32 bit samples at up to 80 kHz sample rate.
💋 2× SPI + 2× I2C + 3× UART
Any GPIO can be assigned to SPI/I2C/UART via the GPIO Matrix. Connect RFID, SD card, OLED display, GPS, and GSM module simultaneously.
🛤 1× CAN 2.0 Controller
Hardware CAN bus controller for automotive and industrial applications. Needs external CAN transceiver (SN65HVD230) — great for vehicle OBD or industrial sensor networks.
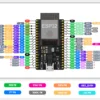
📍 Pinout Diagram + Color Legend
The ESP32 30-pin board exposes 30 physical pins. Here is the full pinout with colour coding matching the official Dream RC pinout diagram:
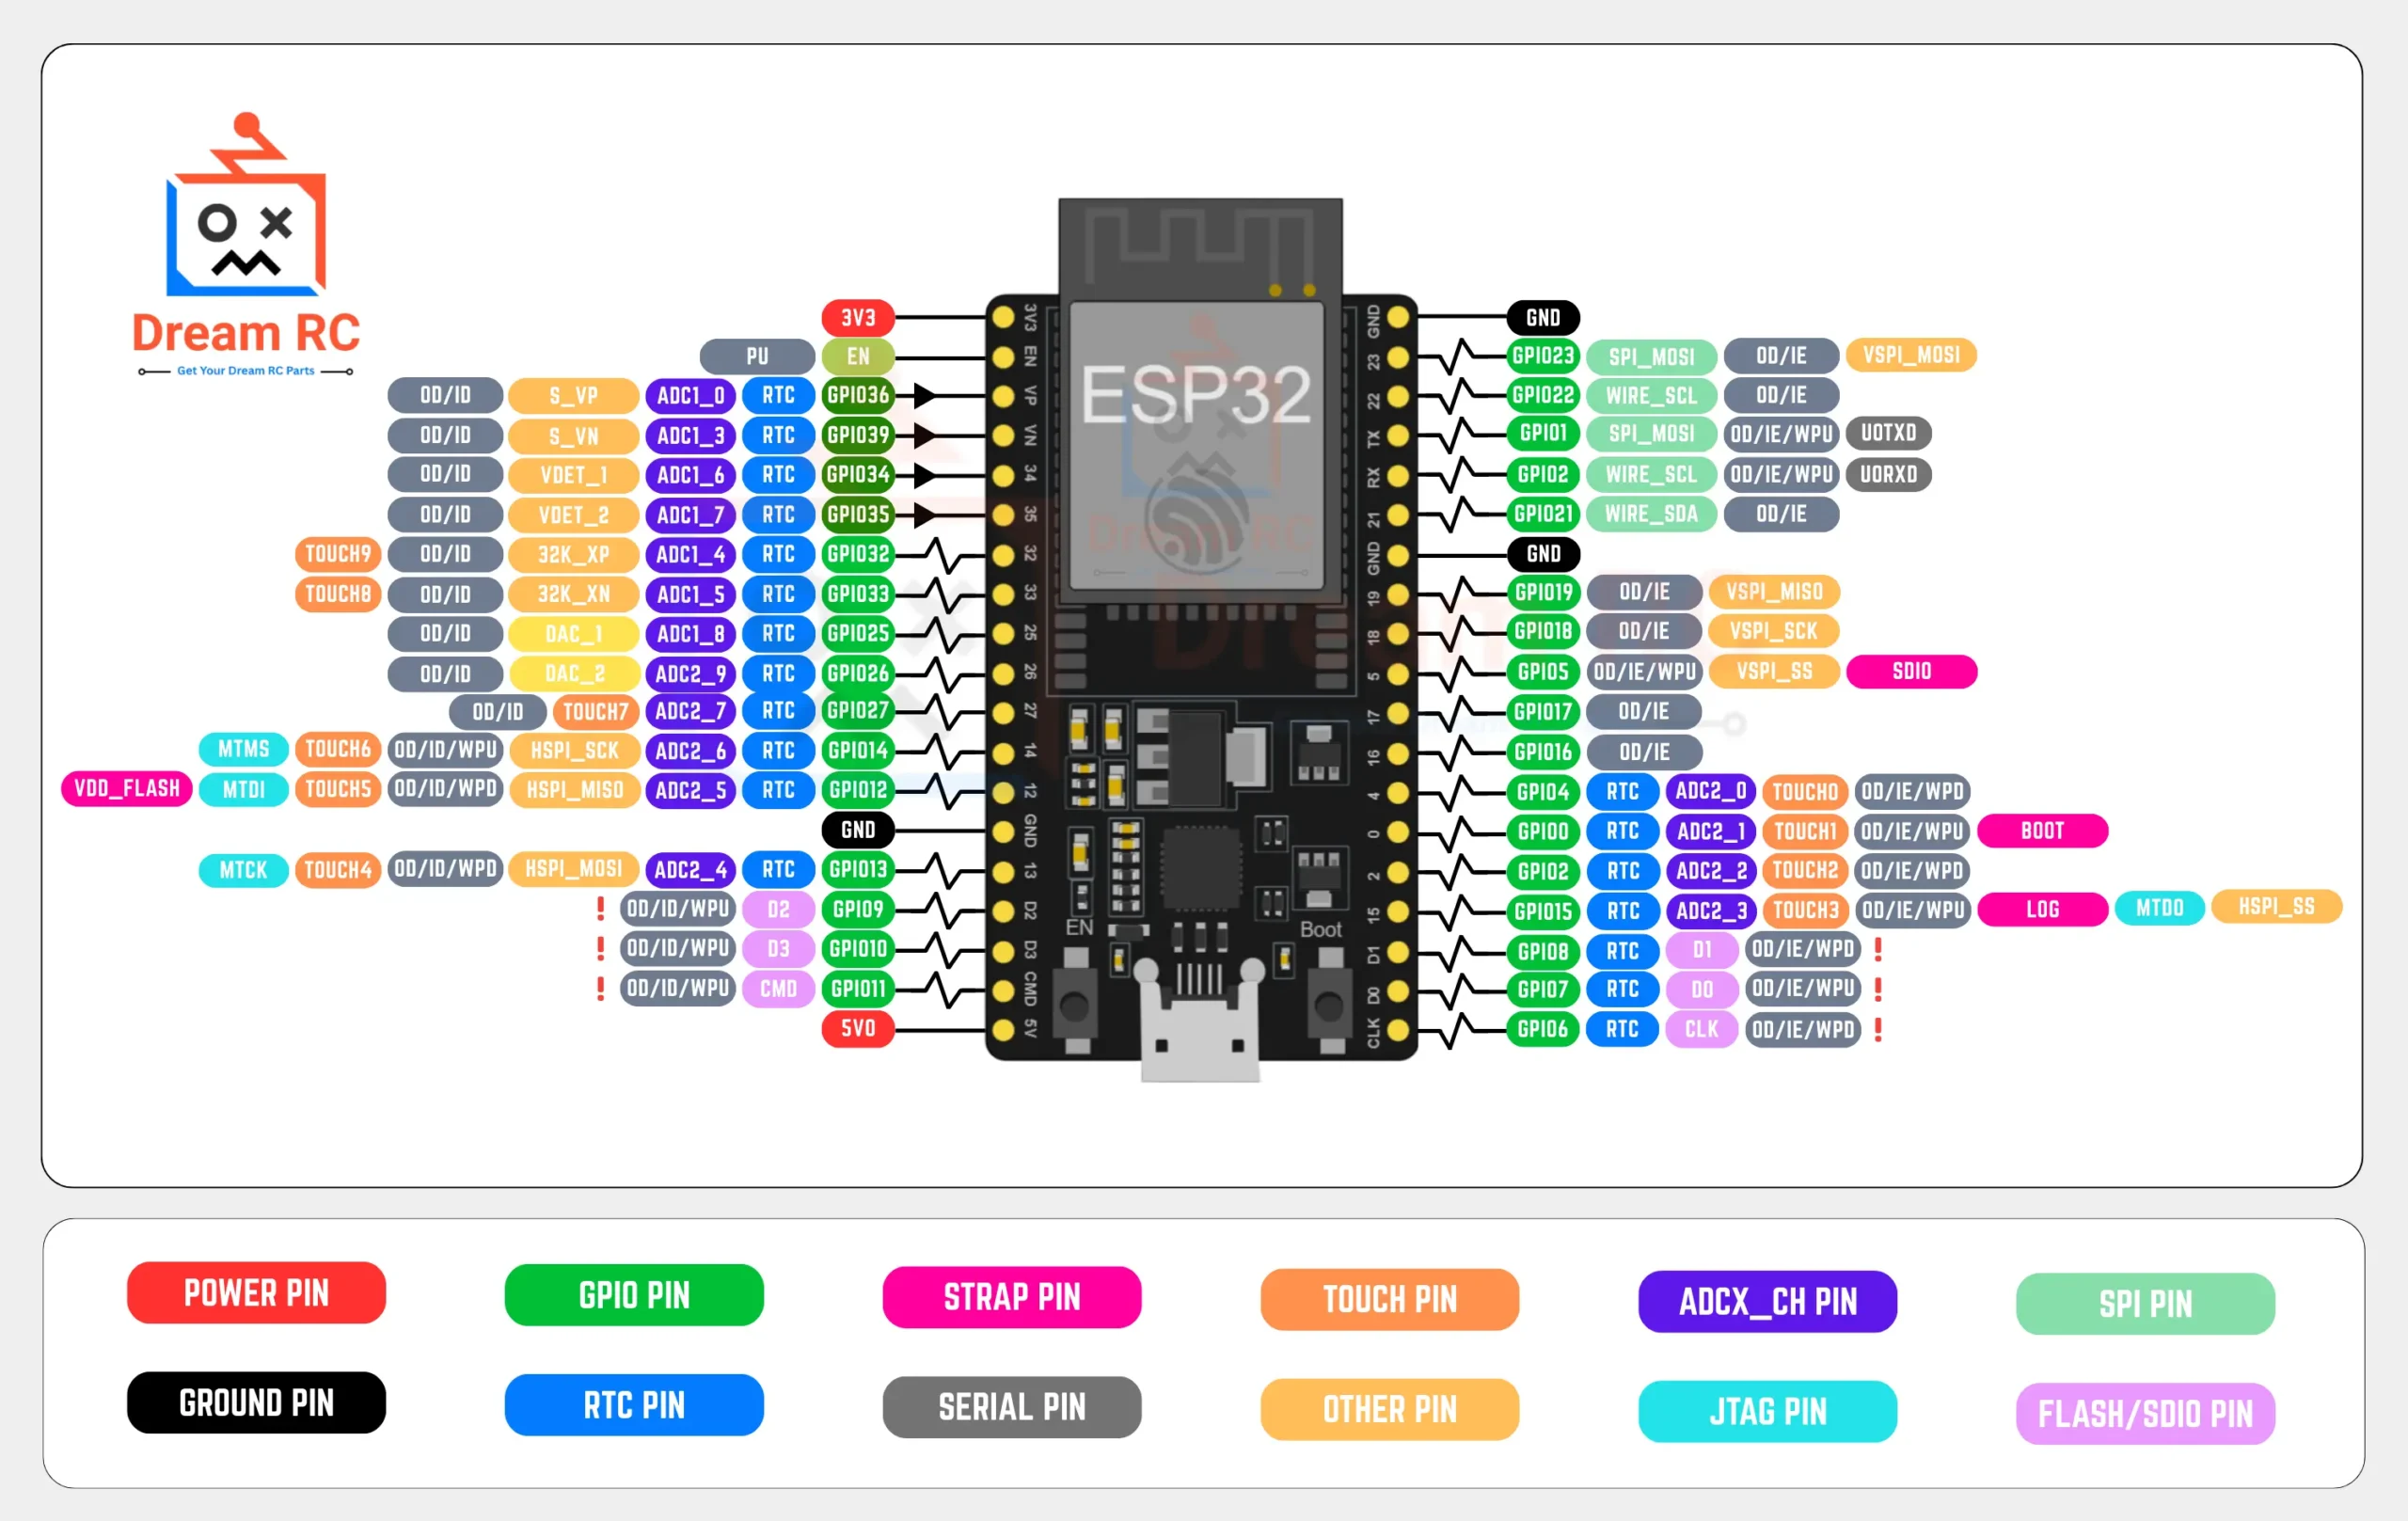
This is the complete pin diagram for the ESP32 30-Pin Type-C development board available at Dream RC Bangladesh. Use this pinout chart as a quick reference while building WiFi, Bluetooth, IoT, or robotics projects. Each pin is color-coded by type — GPIO, ADC, RTC, TOUCH, SPI, UART, JTAG, FLASH, Power, and Ground — so you can identify the right pin at a glance. Buy the ESP32 30-Pin Type-C board in Bangladesh from Dream RC at the best price with fast nationwide delivery.
Pin Types
POWER PIN 3.3V / 5V supply | GROUND PIN GND reference | GPIO PIN Bidirectional digital I/O |
RTC PIN Deep-sleep wakeup | STRAP PIN Boot config / strapping | SERIAL PIN UART TX / RX |
TOUCH PIN Capacitive touch sensor | ADCX_CH PIN Analog-to-digital channel | SPI PIN High-speed serial bus |
OTHER PIN Misc / special function | JTAG PIN Debug interface | FLASH / SDIO PIN Internal flash / SD card |
Pin Label Abbreviations
Open-Drain
Can pull low, not push high
Input-Only
Read-only, no output drive
Input Enable
Input buffer is active
Weak Pull-Up
Internal resistor to 3.3V
Weak Pull-Down
Internal resistor to GND
PWM Output
Variable duty-cycle signal
Important Notes
3.3V Logic Only
GPIO pins are NOT 5V tolerant. Applying 5V will permanently damage the ESP32.
Input-Only Pins
GPIO34–39 are input-only. They have no internal pull-up/pull-down resistors.
Strapping Pins at Boot
GPIO0, GPIO2, GPIO5, GPIO12, GPIO15 affect boot mode. Avoid floating states.
🎯 Pin Reliability Guide — What to Use & What to Avoid
| GPIO | Type | Best Use / Notes |
|---|---|---|
| GPIO 4, 5, 13 | GPIO / PWM / Touch | Fully safe, no boot restrictions. Ideal for digital output, PWM, servo, relay, LED. |
| GPIO 14, 27, 26, 25 | GPIO / ADC / DAC | GPIO 25 & 26 have DAC. All safe for general use. ADC works when WiFi is off. |
| GPIO 21, 22 | I2C SDA / SCL | Default I2C — connect OLED display, BMP280, MPU6050 here. GPIO 21 = SDA, GPIO 22 = SCL. |
| GPIO 32–35 | ADC1 (WiFi safe) | ADC1 channels work reliably even when WiFi is running. Use these for all analog reads in WiFi projects. |
| GPIO 16, 17 | UART2 RX/TX | Second hardware UART — connect GPS, GSM, or sensors without touching UART0 (programming port). |
| GPIO | Reason to Avoid | What happens if misused |
|---|---|---|
| GPIO 6–11 | Flash SPI bus | Directly connected to the internal 4 MB Flash chip. Using these as GPIO causes flash corruption and immediate crashes. |
| GPIO 34–39 | Input only pins | These 6 pins are input-only — no internal pull-up/down, cannot drive output. Safe for reading sensors and buttons only. |
| GPIO 0 | Boot strap pin | LOW at power-on = download mode. Connecting LOW at startup prevents normal boot. Safe as input after boot completes. |
| GPIO 1, 3 | UART0 TX/RX | Used for programming and Serial Monitor. Using these for GPIO interferes with upload and serial output. |
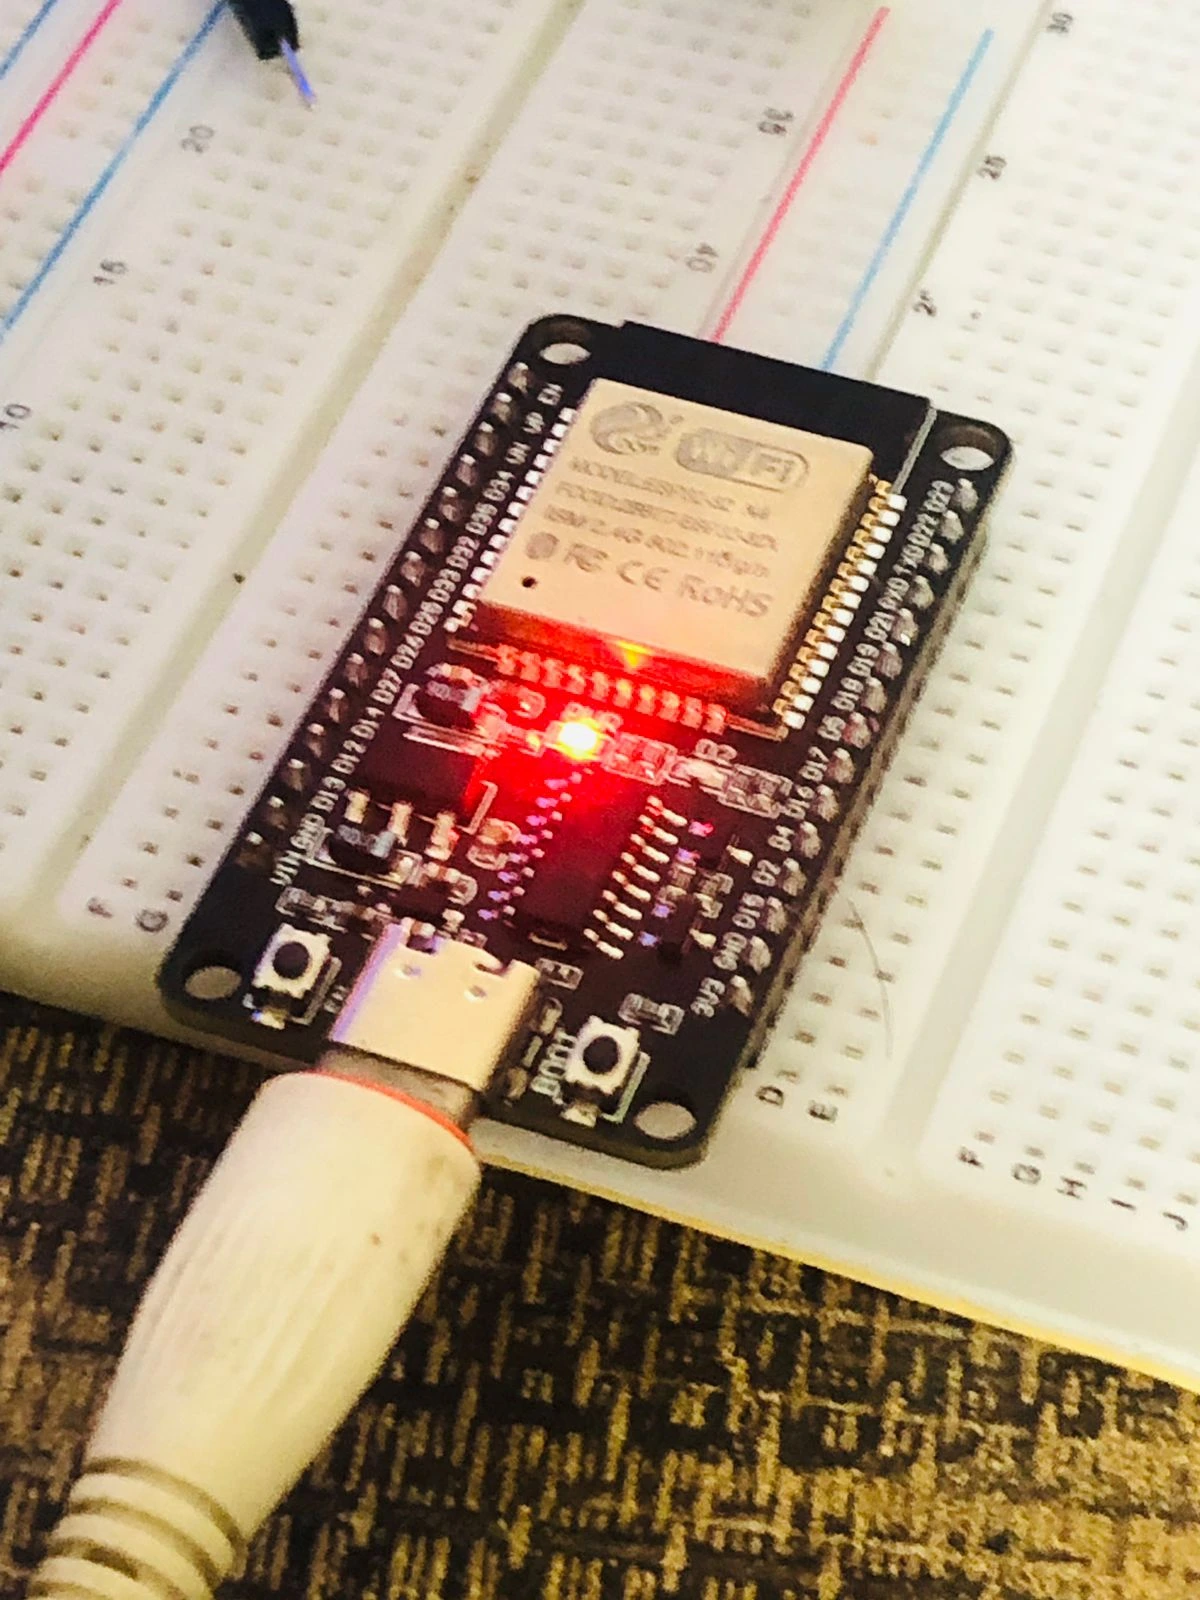
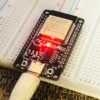
💡 LED Behaviour — What Every Light Means
⚪ Boot & Reset Buttons — What They Do
🔍 BOOT Button (GPIO 0)
During upload: Hold BOOT, press RESET, release RESET, then release BOOT to force the board into download mode if auto-reset fails.
In your code: GPIO 0 can be read as a regular button after boot. Press = LOW. The internal pull-up means it reads HIGH when not pressed.
Common use: factory reset trigger, OTA update start button
⚇ RESET Button (EN pin)
Function: Restarts the ESP32 immediately and runs your code from the beginning. Equivalent to power cycling.
After upload: Press RESET once after uploading a new sketch to start running the new code if it does not auto-start.
Note: does not erase flash — your code and SPIFFS data are preserved
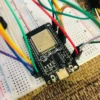
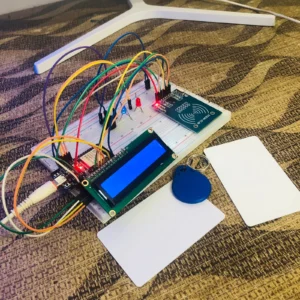
🚀 What You Can Build — Real Projects
The ESP32 is the go-to board for wireless projects in Bangladesh. Here is what makers and engineers actually build with it — and why this board specifically is the right choice for each:
Smart Home Automation
Control lights, fans, and appliances via WiFi from any phone using a web interface hosted directly on the ESP32. Integrate with Home Assistant via MQTT. Why this board: dual-core means WiFi runs on Core 0 and sensor/relay code on Core 1 with zero interference. Cheap enough to install one in every room.
Real capability: control 8 relays + read 4 sensors + host web dashboard simultaneously
Bluetooth RC Car / Robot
Control a robot or car directly from your Android phone via Classic Bluetooth using the free Serial Bluetooth Terminal app. No internet required. Why this board: Classic BT Serial is exclusive to original ESP32 — the ESP32-S3 and ESP8266 cannot do this at all.
Real capability: full joystick phone control, bidirectional data, under 20 lines of code
Solar Battery-Powered Weather Station
Read DHT22, BMP280, soil moisture sensors, sleep for 10 minutes, wake, upload to ThingSpeak or Telegram, and sleep again. Why this board: 10 µA deep sleep means a 10,000 mAh solar power bank can run this indefinitely outdoors.
Real capability: months of autonomous operation with a 6V 2W solar panel
Bluetooth Speaker / Audio Streamer
Receive audio from a phone over Classic Bluetooth A2DP, decode it in real-time, and output to a MAX98357A I2S amplifier + speaker. Why this board: Classic BT A2DP is only available on original ESP32 — ESP32-S3 has no Classic BT.
Real capability: stereo Bluetooth audio at 44.1 kHz to 3W speaker
RFID Attendance / Door Lock System
Connect MFRC-522 RFID, log scans to Google Sheets or a Telegram bot via WiFi, and trigger a relay for door unlock. Why this board: SPI for RFID + relay output + WiFi logging all run on dual-core without timing conflicts.
Real capability: RFID scan to Telegram notification in under 500 ms
👤 Who Should Buy This?
🎓 Beginners
Your first WiFi or Bluetooth project. The largest tutorial community of any embedded board. Arduino IDE makes it easy with zero prior experience.
📚 Students
University IoT lab assignments, science fair projects, and embedded systems coursework. The ESP32 is used in most engineering courses across Bangladesh.
⚙️ Engineers
Rapid prototyping of WiFi or Bluetooth enabled products — home automation, industrial monitoring, wireless data logging, and RFID access systems.
🔧 Makers
DIY Bluetooth speakers, RC vehicles, smart gadgets, RFID locks — the ESP32 is the maker community’s most popular wireless microcontroller worldwide.
⚔️ ESP32 vs ESP8266 vs ESP32-S3 — Full Comparison
Choose the right board for your project
| Feature | THIS BOARD ESP32 30-Pin Type-C + CH340 | UPGRADE ESP32-S3 N16R8 16MB + 8MB PSRAM | BASIC ESP8266 NodeMCU WiFi only |
|---|---|---|---|
| CPU | LX6 Dual 240 MHz | LX7 Dual 240 MHz | LX106 Single 160 MHz |
| RAM | 520 KB SRAM | 512 KB + 8 MB PSRAM | 80 KB SRAM |
| Classic Bluetooth | ✓ BT 4.2 + BLE 4.2 | ✗ BLE 5.0 only | ✗ No Bluetooth |
| Native USB OTG | ✗ CH340 bridge | ✓ Native USB HID | ✗ CH340 bridge |
| AI / ML | Basic TF-Lite only | ✓ LX7 vector AI | ✗ None |
| DAC Output | ✓ 2× 8-bit DAC | ✗ No DAC | ✗ No DAC |
| Best For | IoT + Classic BT + Battery | Camera + AI + USB HID | Simple WiFi only |
🔧 Full Features & Specifications
🔍 CH340 Driver — Download & Install Guide
This board uses a CH340 USB-to-UART chip to communicate between your computer and the ESP32. Windows 10/11 sometimes installs it automatically, but if no COM port appears you need to install the driver manually. This takes under 2 minutes.
Download the Official CH340 Driver
Download directly from WCH — the manufacturer of the CH340 chip. Available for Windows, macOS, and Linux.
Run the Installer
Open the downloaded file → Click INSTALL → Wait for “Driver install success!” → Click OK. Unplug and re-plug the ESP32 via USB-C. A new COM port labelled USB-SERIAL CH340 appears in Device Manager under Ports (COM & LPT).
Select Port in Arduino IDE
Open Arduino IDE → Tools → Port → Select COM X (USB-SERIAL CH340). Then set Board to ESP32 Dev Module and you are ready to upload.
macOS Extra Step
On macOS Ventura and later: after installing the driver go to System Settings → Privacy & Security and scroll down to allow the CH340 kernel extension. Restart your Mac after allowing it.
⚙️ Arduino IDE Settings — Exact Values
https://raw.githubusercontent.com/espressif/arduino-esp32/gh-pages/package_esp32_index.json → Boards Manager → Search “ESP32” by Espressif → Install.💻 Code Examples — Copy-Paste + Free .ino Downloads
Click Download .ino to save any example directly to your computer. Open in Arduino IDE with the settings above and upload.
📡 ESP-NOW & Mesh Networking
ESP-NOW is Espressif’s proprietary low-latency peer-to-peer wireless protocol that runs on the same 2.4 GHz radio as WiFi — but without any router. Two ESP32 boards can exchange data at up to 250 bytes per packet with latency under 2 ms.
📈 Range
200–500 m open area without a router. Extended by chaining relay nodes in mesh configuration.
⚡ Latency
Under 2 ms — far lower than WiFi (10–200 ms). Ideal for real-time control like RC vehicles and drone controllers.
👥 Devices
Up to 20 paired devices. One controller board can send commands to 20 slave boards simultaneously (broadcast).
🏠 Mesh Use
Relay sensor data across large areas — agricultural monitoring, warehouse inventory, smart building floors — all without WiFi infrastructure.
🡲 Troubleshooting — Common Issues & Fixes
❓ Frequently Asked Questions
📚 Learn More — ESP32 Guides & Project Tutorials
Bought your ESP32 and ready to build? These Dream RC guides take you from first setup to advanced WiFi, Bluetooth, and battery projects:
🔗 Compatible Products at Dream RC
Everything you need to build your ESP32 project — available now at Dream RC Bangladesh with fast delivery and Cash on Delivery:
ESP32 Type-C (38 Pins)
Need more GPIO? The 38-pin has 8 extra pins — same chip, same performance, wider board.
ESP32-S3 WROOM-1 N16R8
Upgrade to LX7, 16MB Flash, 8MB PSRAM, AI vector instructions, and Native USB OTG.
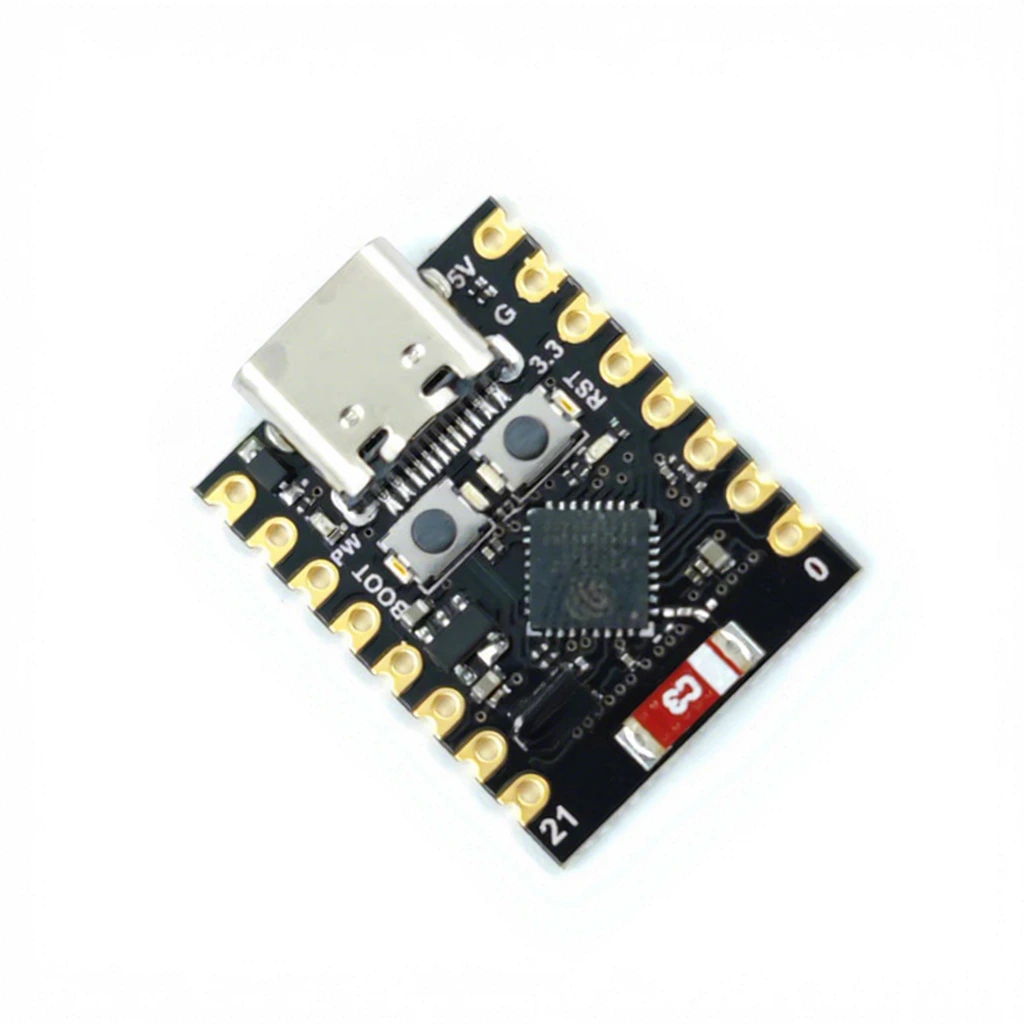
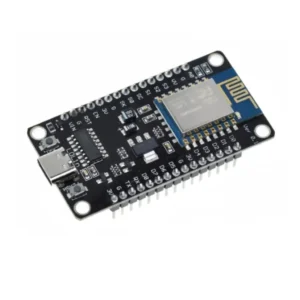
ESP32 C3 Super Mini
Want something ultra-compact? The ESP32-C3 Super Mini packs WiFi + Bluetooth Low Energy into a tiny footprint – perfect for small IoT devices, wearables, and space-constrained projects.
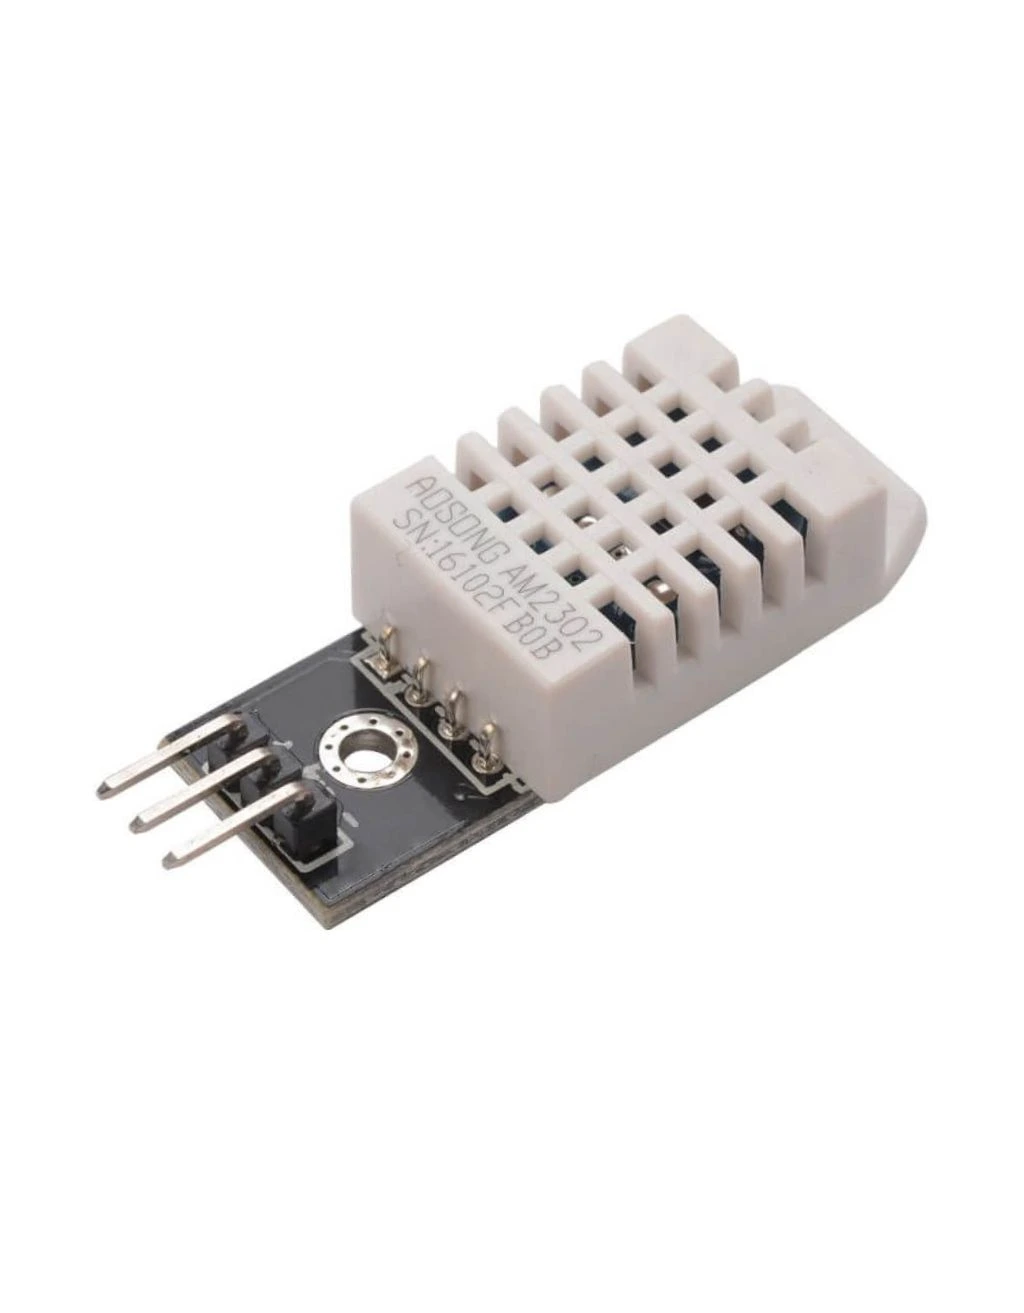
DHT22 Temperature & Humidity Sensor
The most popular sensor for ESP32 weather stations. ±0.5°C accuracy, single-wire interface, works directly on 3.3V.
MAX98357A I2S Audio Amplifier
Build a Bluetooth speaker. Connect via I2S to ESP32 and stream audio from phone via Classic Bluetooth A2DP directly to a speaker.
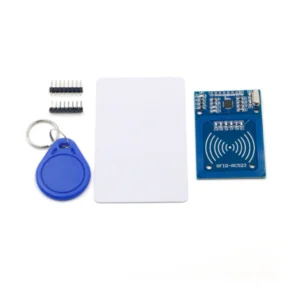
MFRC-522 RFID Module
Build an RFID door lock or attendance system. Connects to ESP32 via SPI. Log scans to Telegram or Google Sheets via WiFi.
📦 Package Includes
1 × ESP32 Type-C 30 Pin Development Board
USB-C data cable not included. Pin headers pre-soldered. Genuine ESP32 chip.
💬 ESP32 Type-C 30 Pin Price in BD & Why Buy From Dream RC?
The ESP32 Type-C 30 Pin price in BD is 469 BDT from Dream RC — the most trusted source for ESP32 development boards in Bangladesh. Genuine Espressif ESP32 chip with pre-soldered pin headers and Type-C port. Order today with Cash on Delivery available to every district in Bangladesh.
Need more GPIO? Check ESP32 38-Pin → Need AI + camera? Upgrade to ESP32-S3 N16R8 →
Pay after receiving
Quick processing
69 BDT — 24 hrs
129 BDT — 24–72 hrs
Reviews
There are no reviews yet.