


Description
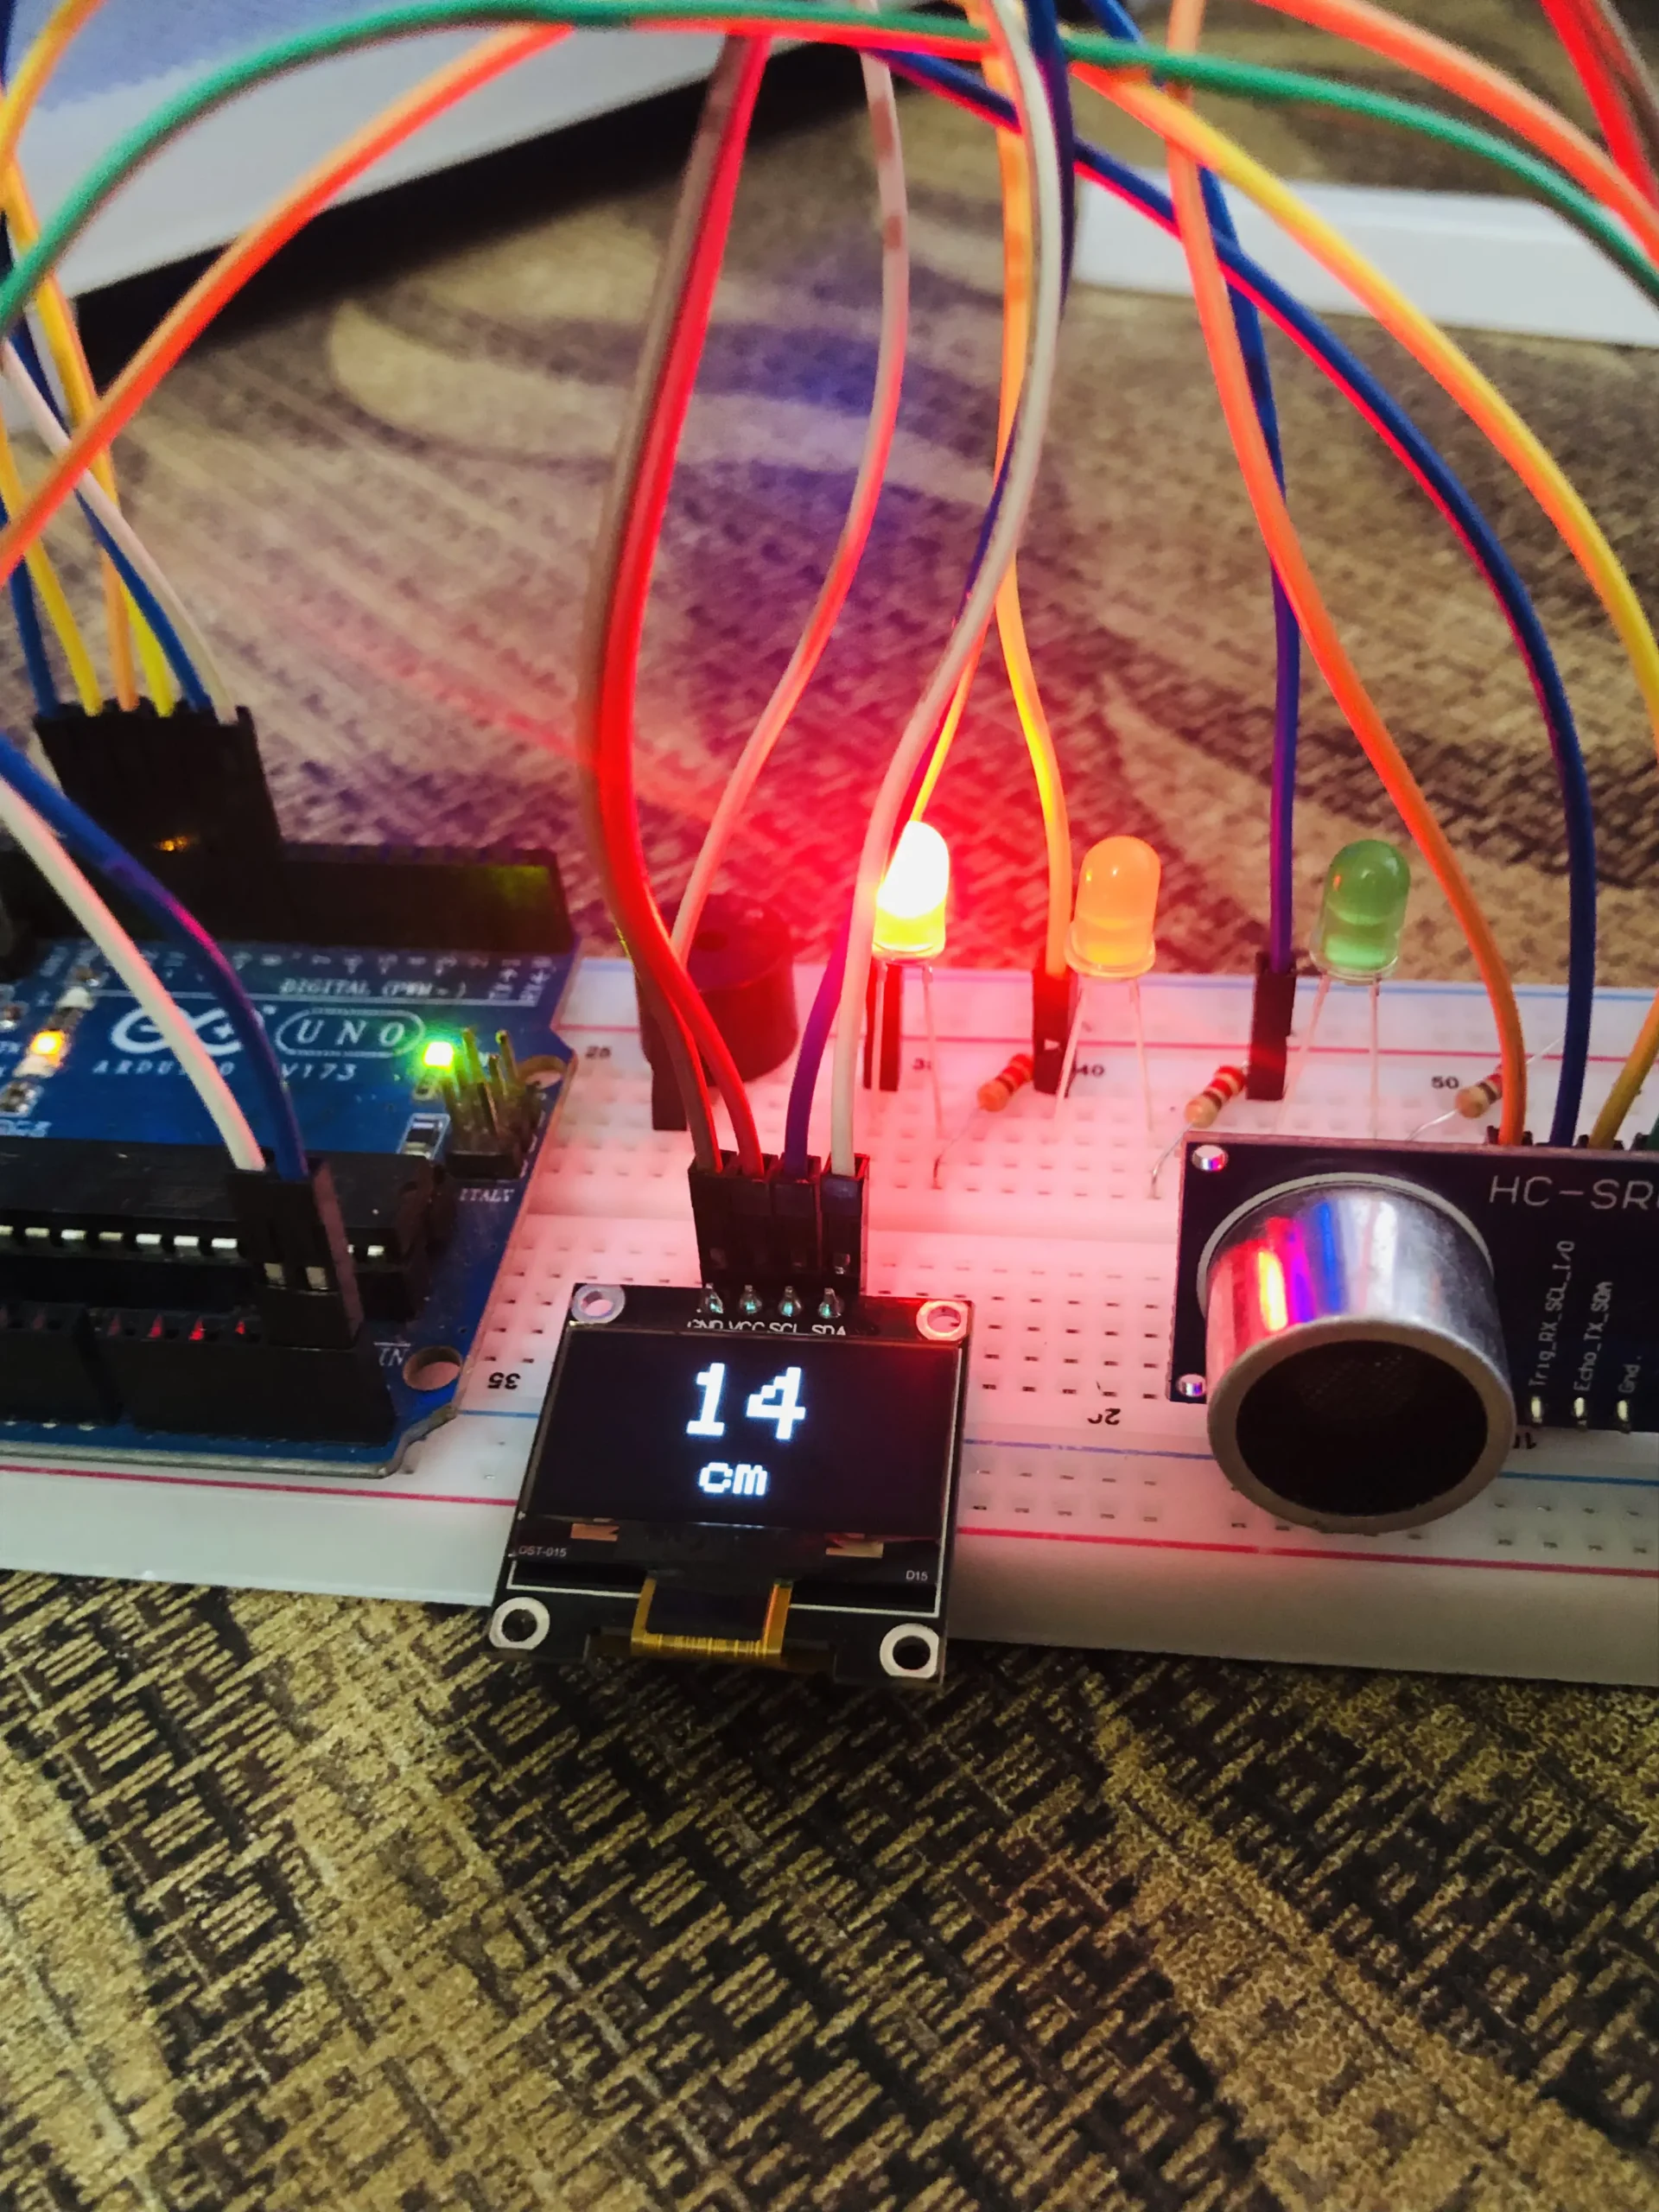
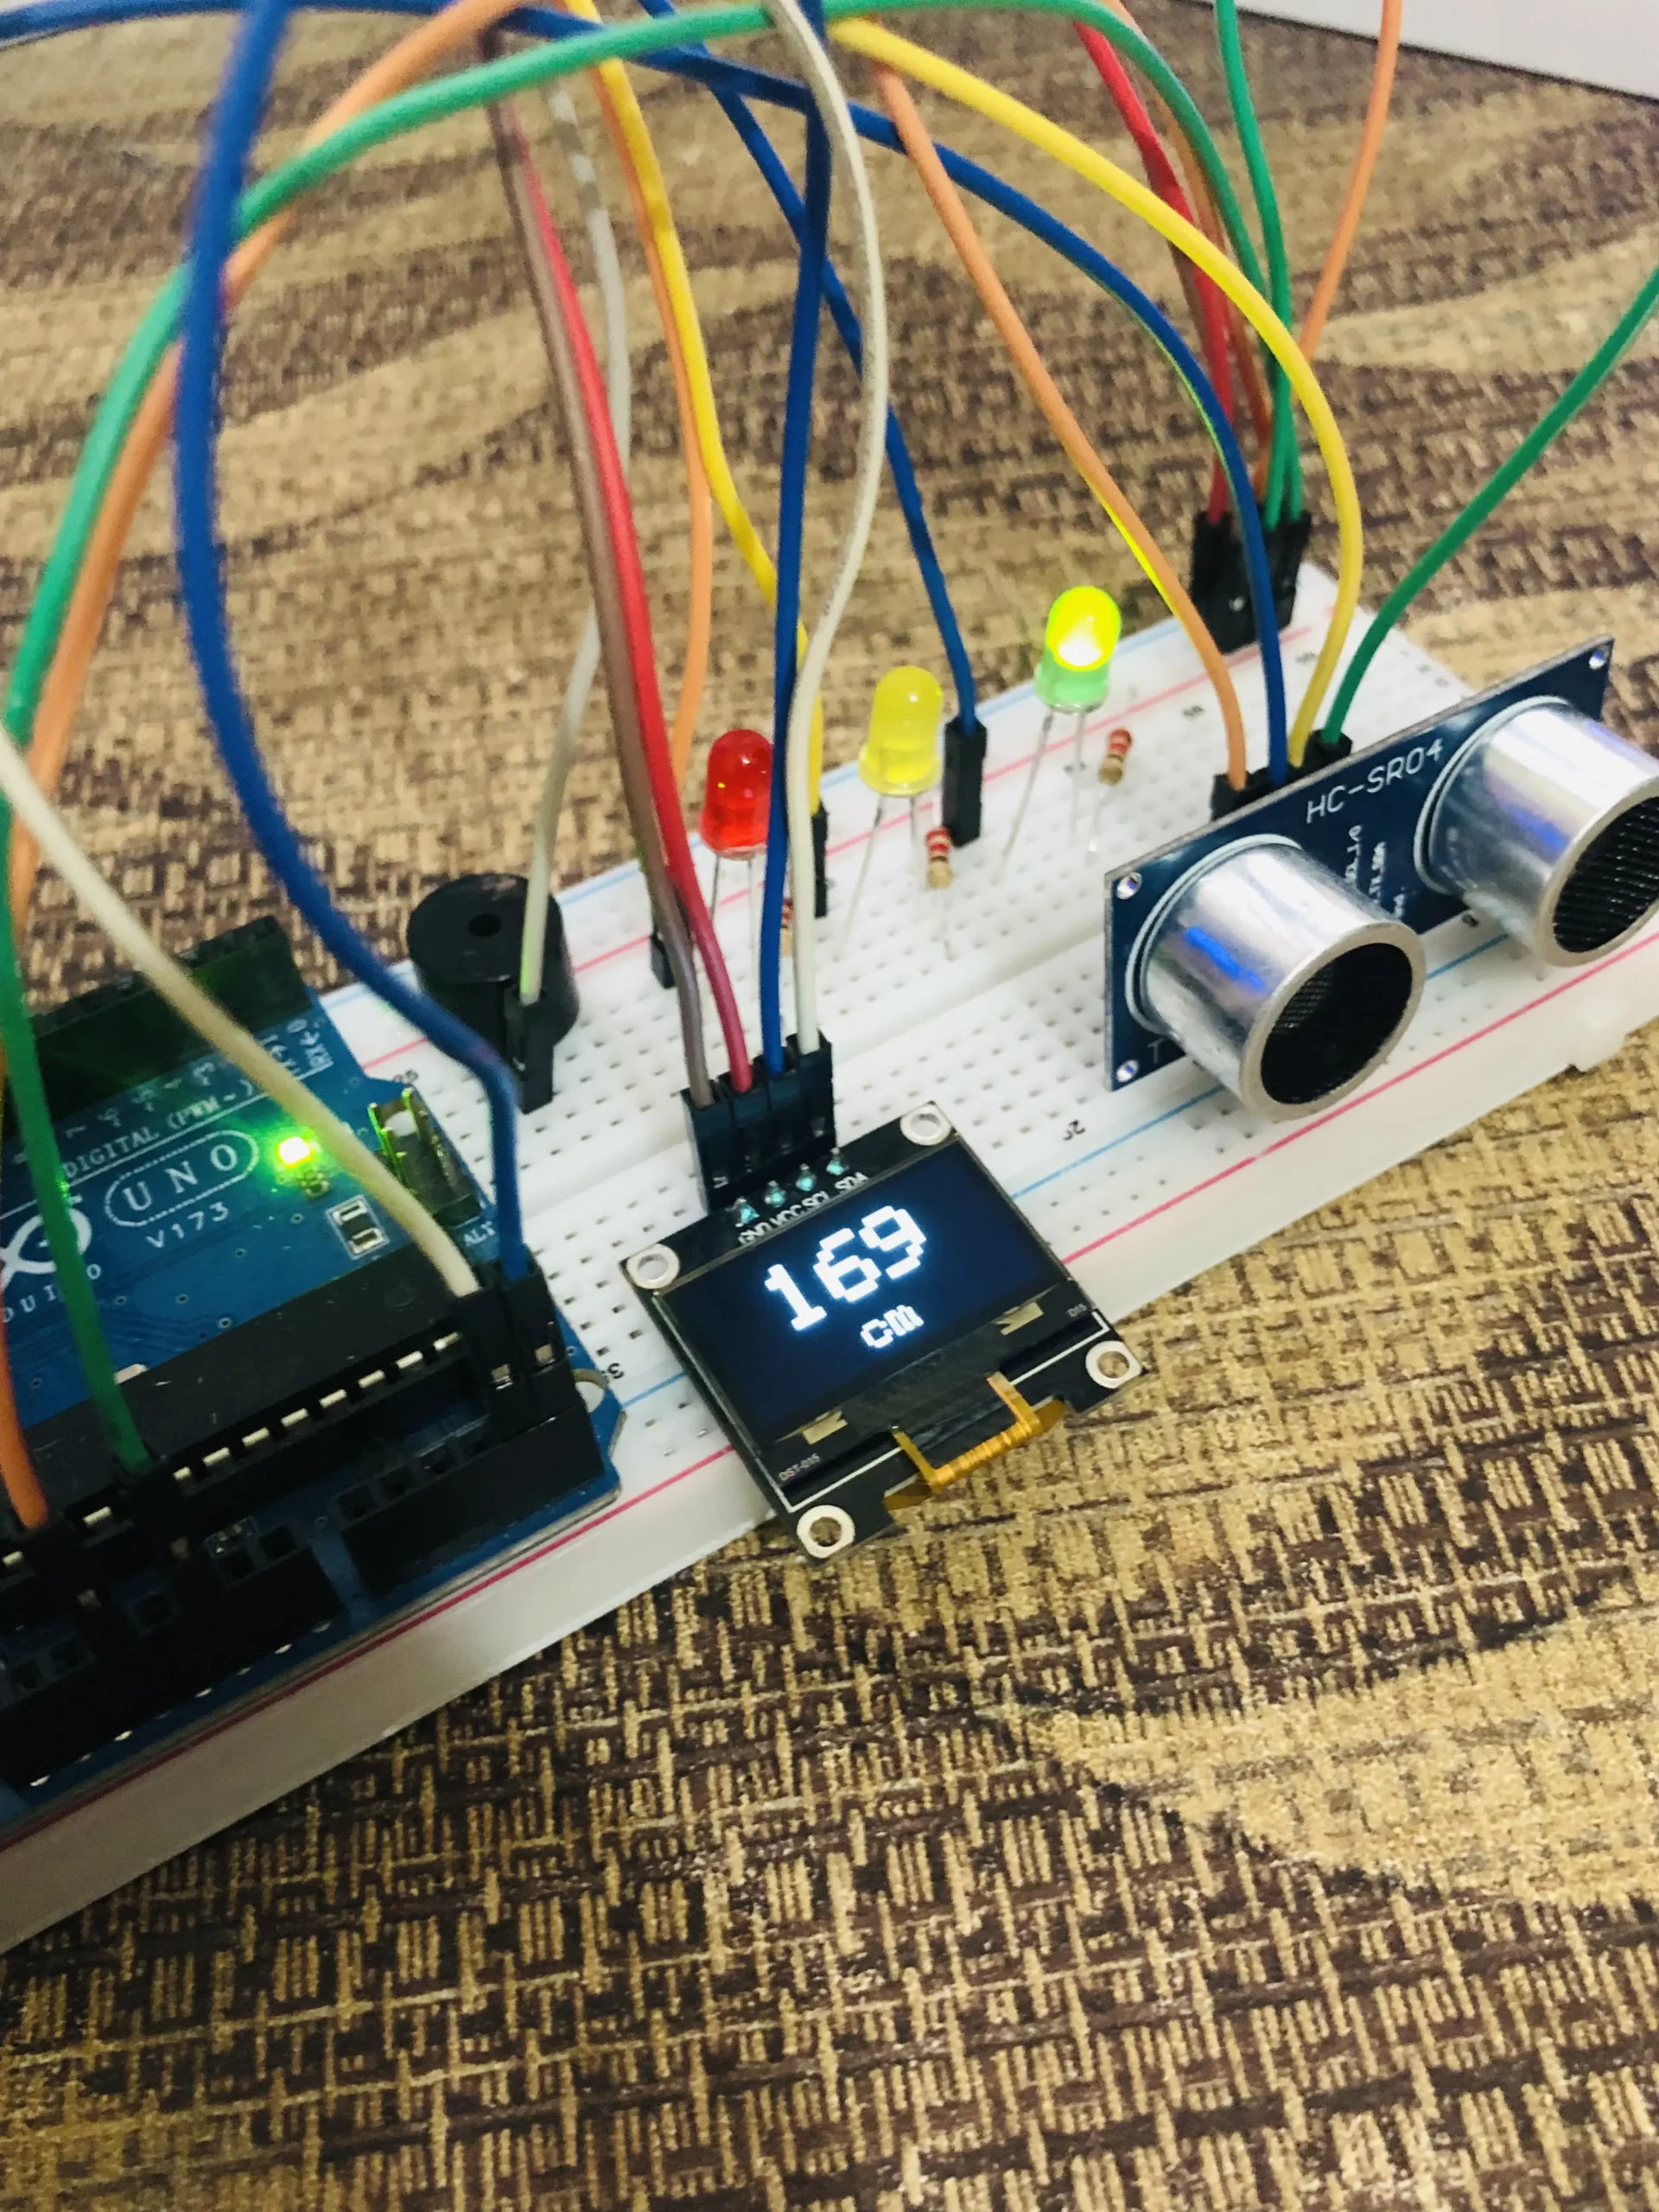
The 0.96 Inch I2C OLED Display is a compact, ultra-bright, and low-power display module that brings a sharp visual output to any microcontroller project using just two wires — SDA and SCL. Based on the popular SSD1306 driver chip with a 128×64 pixel resolution, this display is perfect for showing sensor readings, status messages, menus, icons, and real-time data in your Arduino, ESP32, or ESP8266 projects.
Unlike LCD displays that require a backlight and multiple data wires, this OLED display emits its own light from each pixel — making it crisper, more energy-efficient, and visible even in direct sunlight. Available in Blue or White pixel colour depending on stock, it is one of the most widely used displays in Bangladesh for IoT projects, robotics, and learning electronics.
⭐ Key Features
128 × 64 Pixel Resolution
Sharp crisp display — fits multiple lines of text, icons and graphs
I2C Interface — Only 2 Wires
SDA + SCL only — frees up all your other GPIO pins for sensors
Self-Emitting OLED Pixels
No backlight needed — each pixel glows itself, visible in any light
Ultra Low Power
Only 20mA typical — ideal for battery-powered IoT projects
3.3V and 5V Compatible
Works with both 3.3V and 5V boards — Arduino, ESP32, ESP8266
Compact 0.96 Inch Size
Tiny footprint — fits into small enclosures and wearable builds
🚀 What Can You Display on This OLED?
🌡️
Sensor Readings
Temperature, humidity, pressure and gas values
📊
Live Data Graphs
Real-time data visualisation and progress bars
📋
Status & Menus
System status messages and navigation menus
🤖
Robot Display
Show robot state, speed, battery and direction
⌚
DIY Clock & Timer
Digital clock, countdown timer and stopwatch projects
👤 Who Should Buy This?
🎓 Beginners
Learning Arduino or ESP32? Adding a display makes your project come alive — and I2C needs only 2 wires to connect
📚 Students
University projects, sensor dashboards, embedded systems assignments and IoT lab work
⚙️ Engineers
Prototyping devices that need a local display for debugging, status output or user interface
🛠️ Hobbyists
Makers building weather stations, clocks, robot dashboards or any project needing a visual output
⚔️ OLED I2C vs LCD 16×2 vs LCD 20×4 — Which Display Should You Use?
A practical comparison to help you pick the right display for your project
| Feature | THIS ITEM OLED 0.96″ I2C — SSD1306 | COMMON LCD 16×2 I2C or Parallel | LARGER LCD 20×4 I2C or Parallel |
|---|---|---|---|
| Display Type | OLED — self-emitting | LCD — backlit | LCD — backlit |
| Resolution | 128×64 pixels | 16 chars × 2 rows | 20 chars × 4 rows |
| Graphics Support | ✅ Full — icons, graphs, images | ❌ Text only | ❌ Text only |
| Wires Needed | 2 (SDA + SCL) | 2 (with I2C adapter) | 2 (with I2C adapter) |
| Power Draw | ~20mA — very low | ~80mA — backlight | ~120mA — backlight |
| Sunlight Visibility | ✅ Excellent | ⚠️ Difficult to read | ⚠️ Difficult to read |
| Best For | Graphs, icons, compact builds | Simple text output | More text lines needed |
🔧 Features & Specifications
🔧 Library Install & Setup Guide
The OLED display requires two Arduino libraries to work — Adafruit SSD1306 and Adafruit GFX. Both are free and installed directly from Arduino IDE in under 2 minutes.
Install Adafruit SSD1306 Library
Open Arduino IDE → Sketch → Include Library → Manage Libraries → Search Adafruit SSD1306 → Click Install. When prompted, also install all dependencies including Adafruit GFX Library.
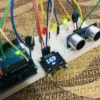
Wire the Display
Connect 4 wires only — VCC → 3.3V or 5V, GND → GND, SDA → SDA pin (A4 on Arduino Uno, GPIO21 on ESP32), SCL → SCL pin (A5 on Arduino Uno, GPIO22 on ESP32).
Confirm Your I2C Address
Not sure which address your display uses? Go to File → Examples → Wire → i2c_scanner and upload it. Open Serial Monitor at 9600 baud — it will print the exact I2C address of your display (usually 0x3C or 0x3D).
Run the Example Sketch
Go to File → Examples → Adafruit SSD1306 → ssd1306_128x64_i2c. Make sure the address in Adafruit_SSD1306 display(128, 64, &Wire, -1) matches your display. Upload and watch the demo run on screen.
📌 Wiring Reference — OLED to Common Boards
💻 Quick Start — Example Code
🖥️
Example 1 — Display Hello World Text
#include <Wire.h>
#include <Adafruit_GFX.h>
#include <Adafruit_SSD1306.h>

// Define display dimensions
#define SCREEN_WIDTH  128
#define SCREEN_HEIGHT 64
#define OLED_RESET    -1  // No reset pin
#define I2C_ADDRESS   0x3C  // Try 0x3D if blank screen

Adafruit_SSD1306 display(SCREEN_WIDTH, SCREEN_HEIGHT, &Wire, OLED_RESET);

void setup() {
  Serial.begin(115200);
  if (!display.begin(SSD1306_SWITCHCAPVCC, I2C_ADDRESS)) {
    Serial.println("SSD1306 not found! Check wiring & address.");
    while (1);
  }
  display.clearDisplay();
  display.setTextSize(2);
  display.setTextColor(SSD1306_WHITE);
  display.setCursor(10, 20);
  display.println("Dream RC!");
  display.display();
}

void loop() {}
If the display stays blank, change 0x3C to 0x3D on the I2C_ADDRESS line.
📊
Example 2 — Display Live Sensor Value (e.g. Temperature)
// Add after display setup in loop() — shows a live counter as example

void loop() {
  float temperature = random(20, 40);  // Replace with real sensor read

  display.clearDisplay();

  // Label
  display.setTextSize(1);
  display.setTextColor(SSD1306_WHITE);
  display.setCursor(0, 0);
  display.println("Temperature:");

  // Large value
  display.setTextSize(3);
  display.setCursor(0, 20);
  display.print(temperature, 1);
  display.println(" C");

  display.display();
  delay(1000);
}
Replace the random() with your actual sensor read — e.g. DHT11, DHT22, or BMP280.
❓ Frequently Asked Questions
🔗 Compatible Development Boards
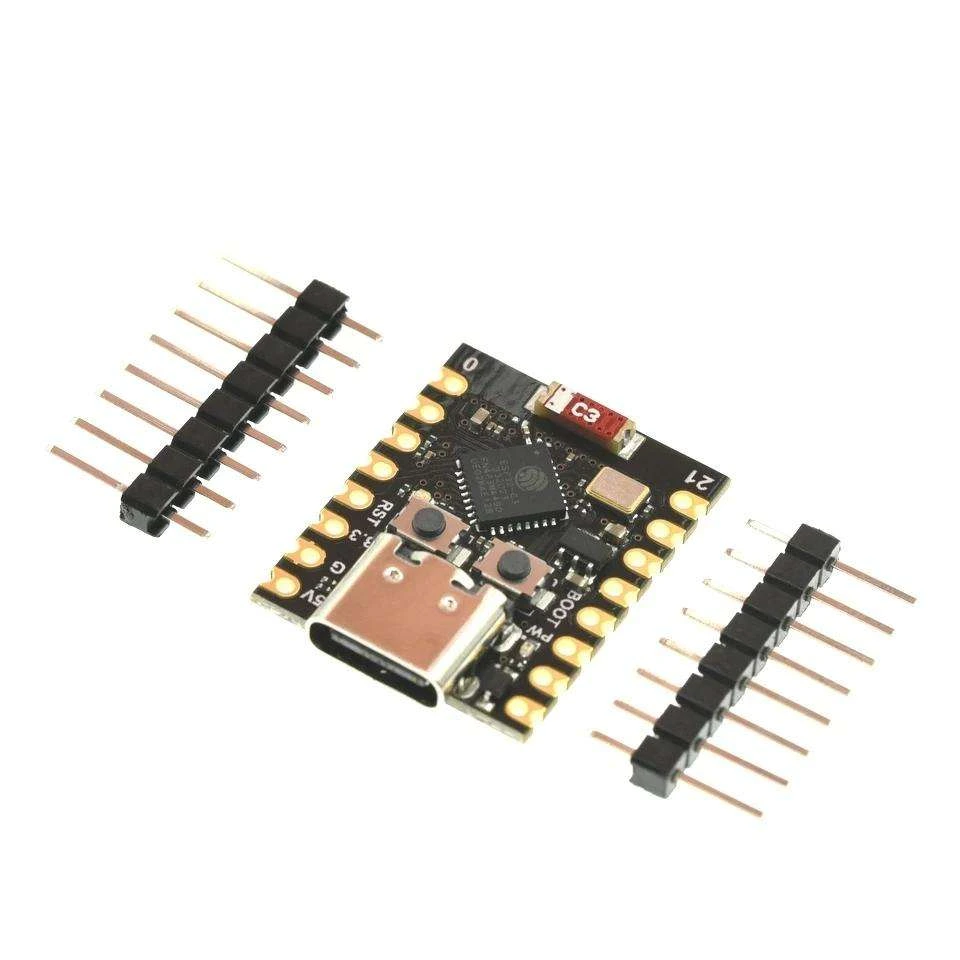
ESP32-C3 Super Mini
The most compact pairing — connect the OLED to the ESP32-C3 Super Mini via GPIO8/9 for an ultra-small IoT display node that fits inside the tiniest enclosures.
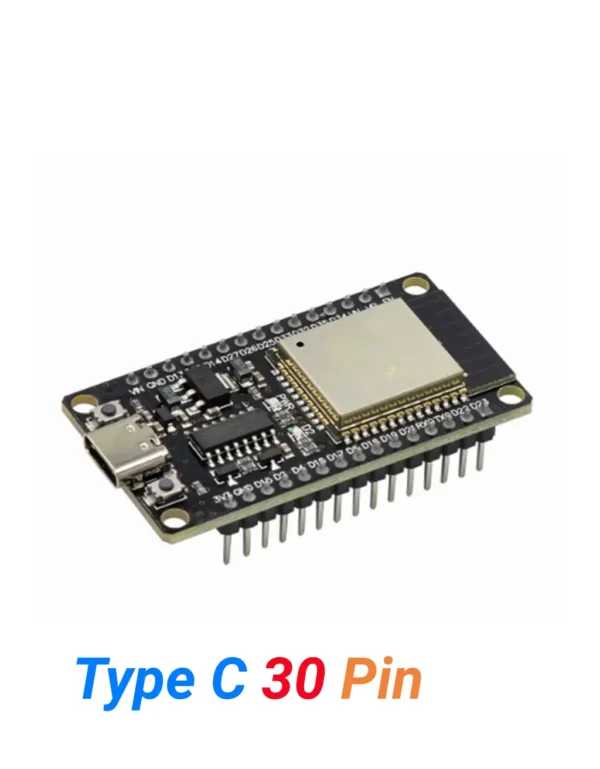
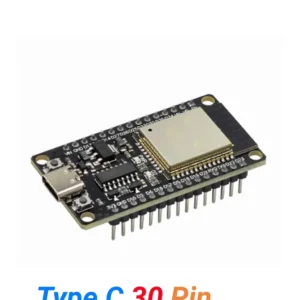
ESP32 Type-C (30 Pins)
Pair this OLED with the ESP32 30-pin to build WiFi-connected displays — show live sensor data from the internet, weather API readings or real-time IoT dashboards.
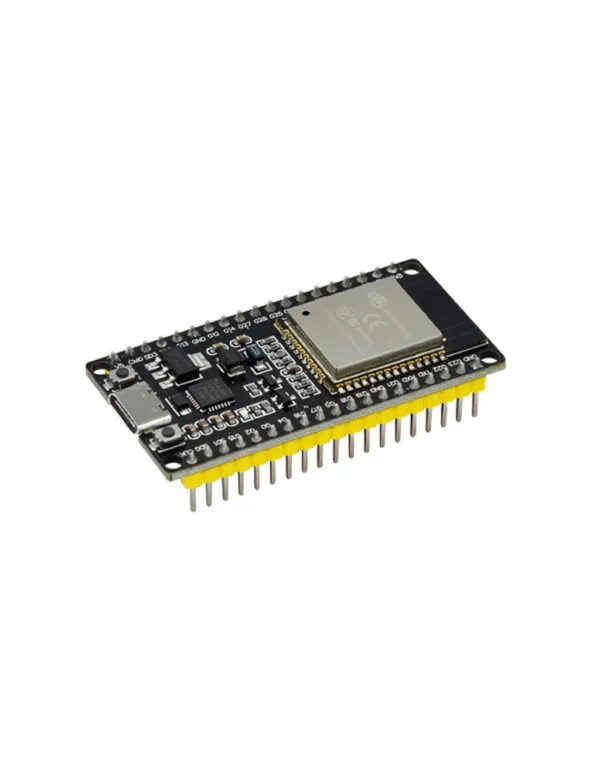
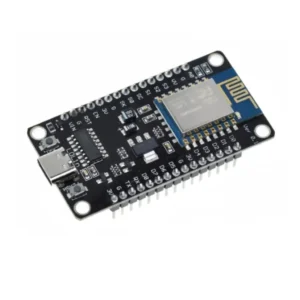
ESP32 Type-C (38 Pins)
The ESP32 38-pin leaves plenty of GPIO free after connecting the OLED via I2C — ideal for builds that need the display plus multiple sensors and peripherals simultaneously.
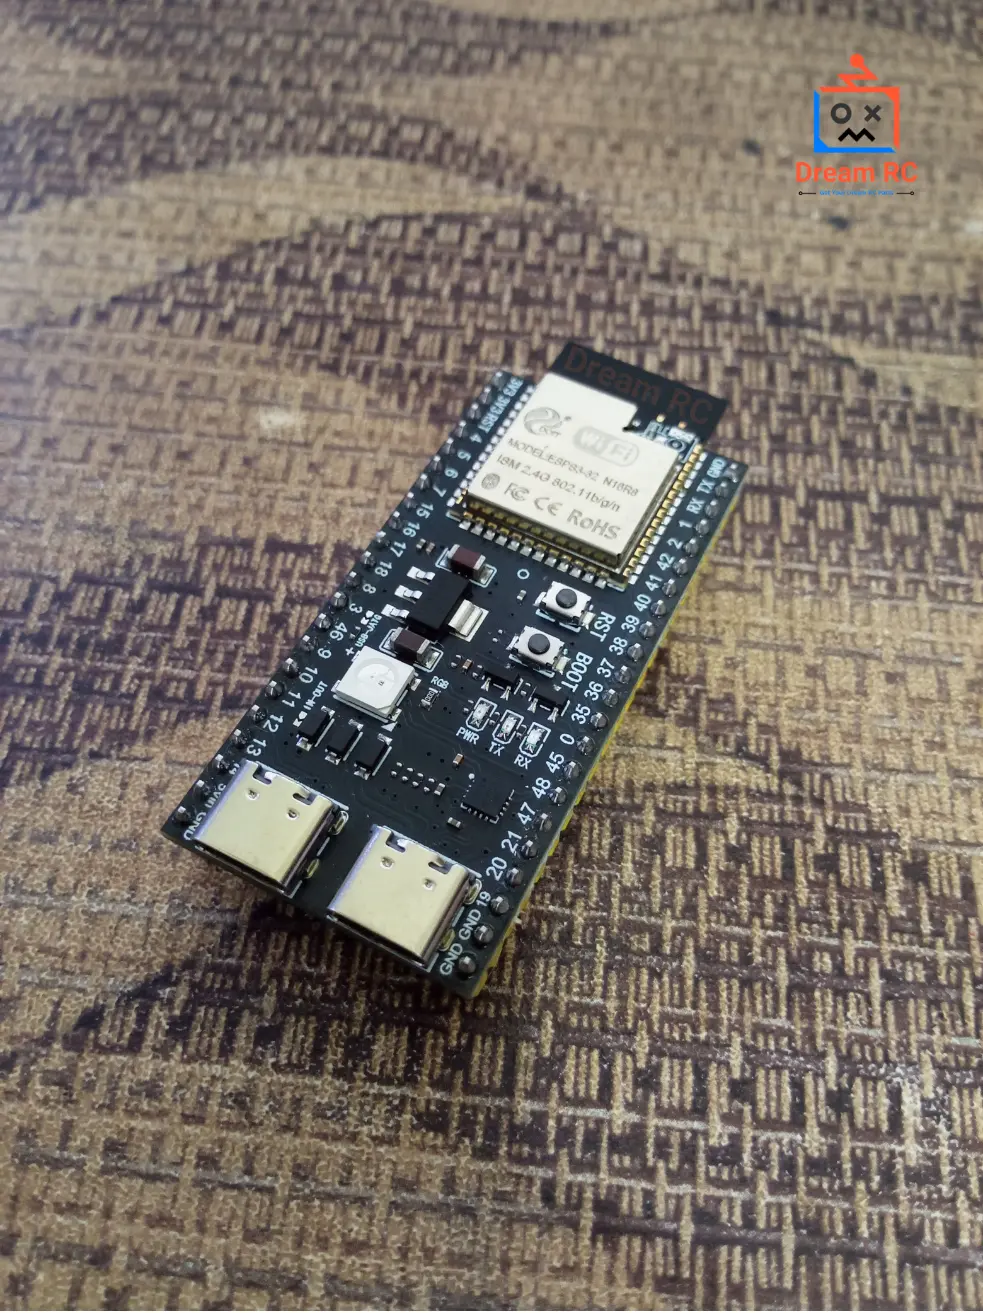
ESP32-S3 WROOM-1 N16R8
For demanding projects — use the OLED with the ESP32-S3 to display AI inference results, camera stats, or complex sensor dashboards powered by the LX7 processor and 8MB PSRAM.
📦 Package Includes
📦
1 × 0.96 Inch I2C OLED Display Module (SSD1306)
Pin headers pre-soldered — connection cables and breadboard not included
💬 0.96 Inch OLED Display Price in BD & Why Buy From Dream RC?
The 0.96 Inch I2C OLED Display price in BD is 339 BDT. Buy this SSD1306 OLED display module in Bangladesh from Dream RC — your trusted source for displays, sensors, and electronics components at the best price with fast nationwide delivery.
Genuine SSD1306 OLED module with pre-soldered headers — ready to wire and code immediately. Cash on Delivery available everywhere in Bangladesh.
Pay after receiving
Quick processing
69 BDT — 24 hrs
129 BDT — 24–72 hrs
Reviews
There are no reviews yet.