
- → 📌 What is ESP32? — Detailed Explanation
- → 📦 ESP32 Types — Which One to Buy
- → ⚖️ ESP32 vs Arduino Uno — Key Differences
- → 💻 Development Environment Setup (Arduino IDE)
- → 💡 First Project — Blink LED
- → 📶 ESP32 WiFi Modes Explained
- → 🌐 Build a Simple Web Server
- → 🛒 ESP32 Boards at Dream RC Bangladesh
- → ❓ FAQ — 10 Beginner Questions Answered
- → ✅ Conclusion
🔍 What is ESP32?
ESP32 is a low-cost, low-power microcontroller developed by Espressif Systems with built-in WiFi and Bluetooth on a single chip. Released in 2016, it became the world’s most popular microcontroller for IoT, robotics, and smart device development — and one of the best-value components available in Bangladesh today.
Think of it as a miniature computer you can hold between two fingers. You write code on your laptop, upload it to the ESP32, and it runs that code — controlling motors, reading sensors, hosting web pages, streaming video, or sending data over the internet. All from a chip smaller than a postage stamp. 🤯
The ESP32 is powered by a dual-core Xtensa LX6 processor running up to 240 MHz, paired with 520 KB SRAM and typically 4 MB Flash. It includes ADC, PWM, SPI, I2C, UART, DAC, and capacitive touch inputs — all in one package. ⚡
Every meaningful electronics project in 2026 — from home automation to robotics to industrial IoT — needs wireless communication. ESP32 gives you WiFi, Bluetooth, and serious processing power out of the box, for less than a meal. It is the single most practical microcontroller to start with today. 🏆
🌍 Real-World Applications
- 🏠 Smart Home Automation — Control lights, fans, appliances from a phone app
- 🤖 WiFi + Bluetooth Robots — Remote-controlled cars, arms, and drones
- 📊 IoT Data Dashboards — Temperature, humidity, air quality monitoring
- 📷 AI Camera Systems — Face detection and object recognition with ESP32-CAM
- 🌤️ Weather Stations — Real-time sensor data posted to cloud services
- 🌱 Smart Agriculture — Soil moisture sensing and automated irrigation
- 🚗 RC Telemetry — Live speed, battery, and GPS data over WiFi
- ⌚ Wearables — BLE heart rate monitors, step counters, GPS trackers
📦 ESP32 Types — Which One Should You Get?
“ESP32” is a family of chips, not just one board. Here is a complete breakdown — including the popular ESP8266, which belongs to the same Espressif ecosystem and is still widely used for budget WiFi projects:
| Board | CPU | WiFi | Bluetooth | Best For |
|---|---|---|---|---|
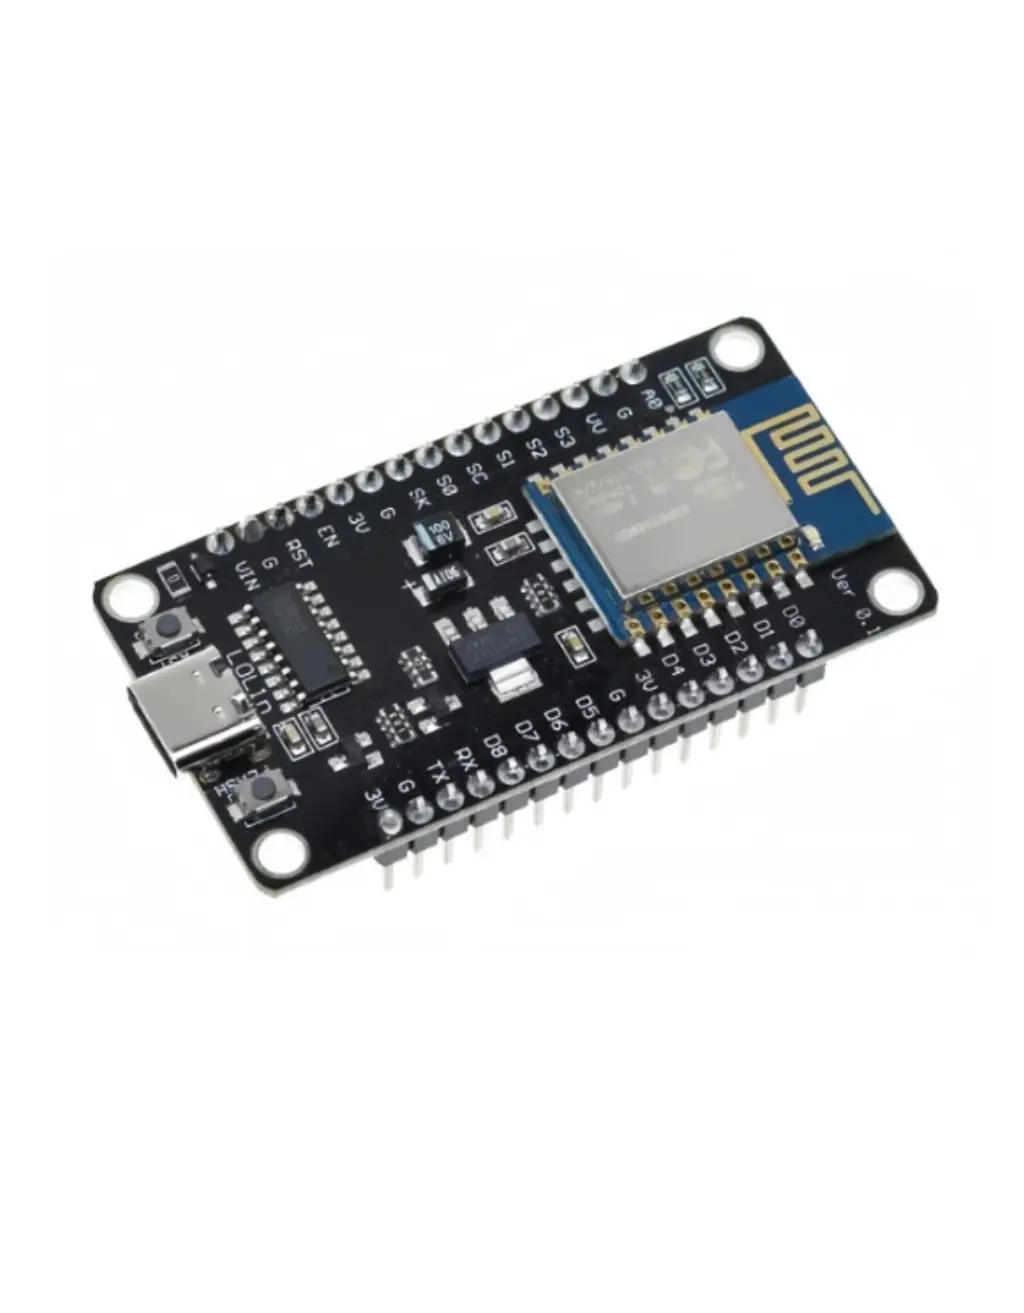
| ESP8266 NodeMCU | Single Core · 80–160 MHz | ✅ 2.4 GHz | ❌ None | Budget WiFi |
| ESP32 30-Pin Type-C | Dual Core LX6 · 240 MHz | ✅ 2.4 GHz | ✅ BT 4.2 + BLE | Beginners ⭐ |
| ESP32 38-Pin Type-C | Dual Core LX6 · 240 MHz | ✅ 2.4 GHz | ✅ BT 4.2 + BLE | Intermediate |
| ESP32-C3 Super Mini | RISC-V · 160 MHz | ✅ 2.4 GHz | ✅ BLE 5.0 | Compact Builds |
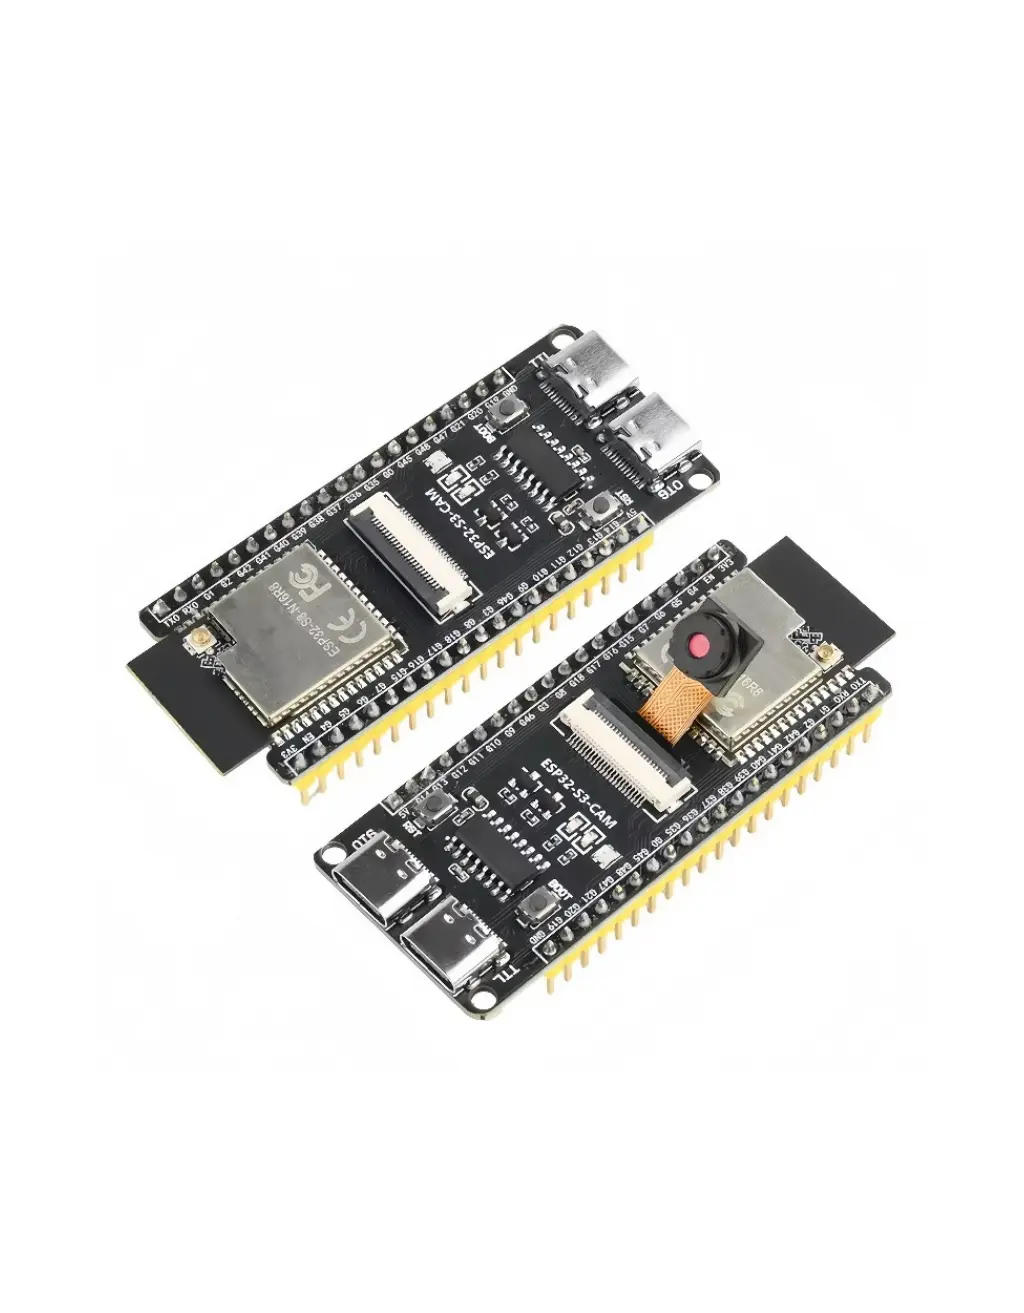
| ESP32-S3 N16R8 | Dual Core LX7 · 240 MHz | ✅ 2.4 GHz | ✅ BT 5.0 + BLE | AI / USB Projects |
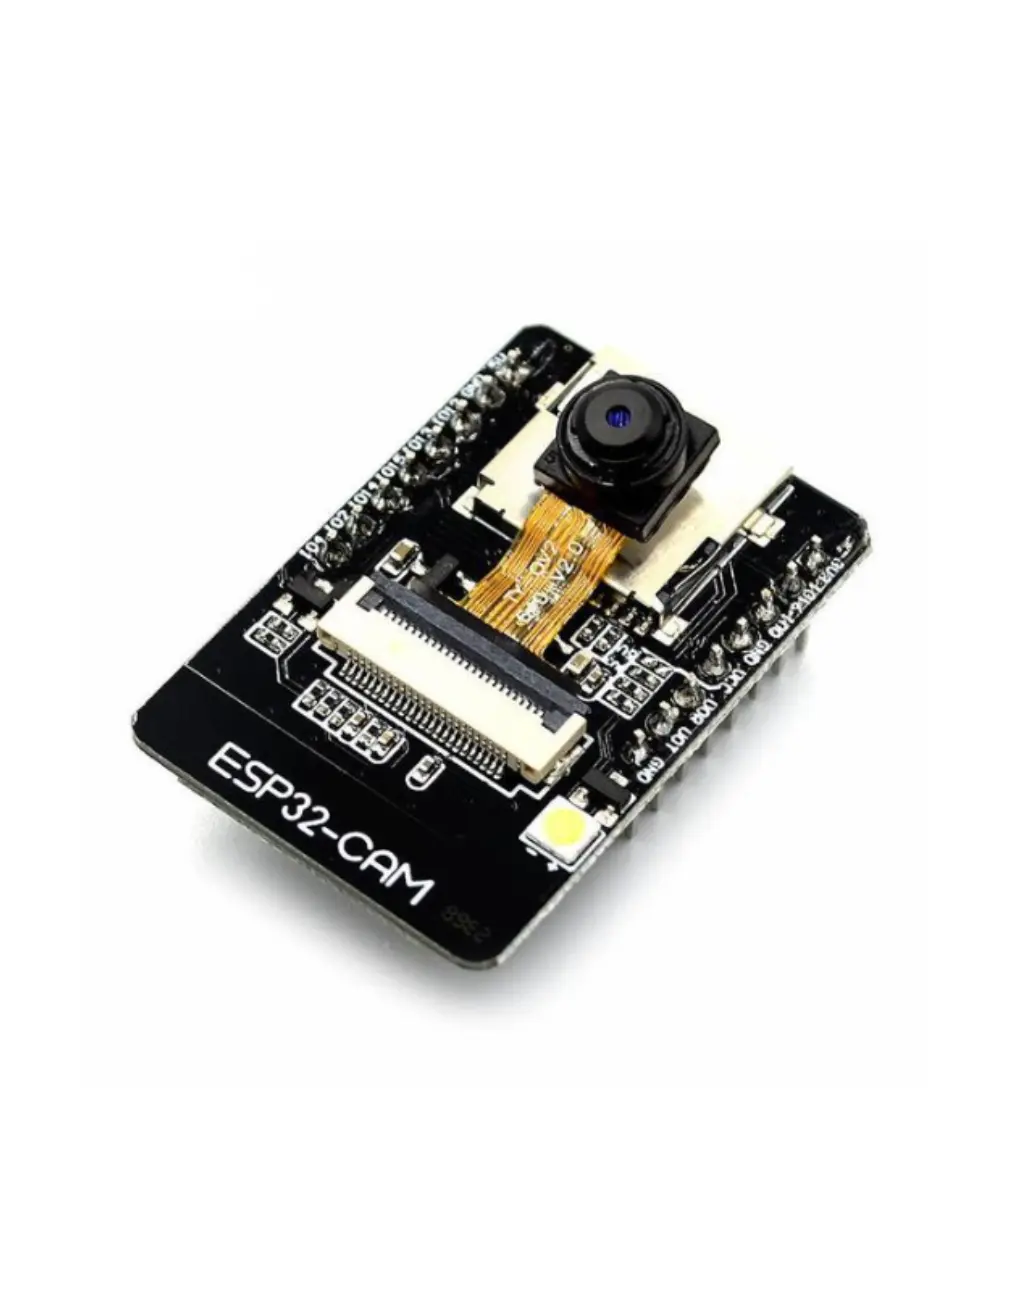
| ESP32-CAM | Dual Core · 240 MHz | ✅ 2.4 GHz | ✅ BT 4.2 | Camera / Vision |
📊 Detailed Hardware Specs — ESP8266 vs ESP32 vs ESP32-S3
| Specification | ESP8266 NodeMCU | ESP32 (30/38 Pin) | ESP32-S3 N16R8 |
|---|---|---|---|
| 🧠 CPU | Xtensa L106 · 32-bit | LX6 · 32-bit Dual Core | LX7 · 32-bit Dual Core |
| ⚡ Clock Speed | 80 / 160 MHz | Up to 240 MHz | Up to 240 MHz |
| 💾 SRAM | 80 KB | 520 KB | 512 KB + 8 MB PSRAM |
| 📀 Flash | External ~4 MB | Typically 4 MB | 16 MB (N16R8) |
| 🔵 Bluetooth | ❌ None | BT 4.2 + BLE | BT 5.0 + BLE 5.0 |
| 📌 GPIO | ~11 | Up to 34 | Up to 45 |
| 🤖 AI Acceleration | ❌ None | ❌ None | ✅ Vector instructions |
| 🖥️ USB Interface | Via CH340 bridge | Via CH340/CP2102 | ✅ Native USB OTG |
| 🔋 Deep Sleep | ~20 µA | ~10 µA | ~8 µA |
| 🎯 Ideal Use | Simple WiFi, budget | IoT, BT, robotics, general | AI edge, USB, big memory |
The ESP8266 is not part of the ESP32 board family — it is an older, separate Espressif chip. It has no Bluetooth, fewer GPIO pins, less RAM, and requires a different Boards Manager URL in Arduino IDE. Still a capable, affordable WiFi board for simple IoT projects — but for new builds in 2026, ESP32 gives significantly more capability for a very similar price. See our dedicated guide below. 👇
🔎 Quick Board Descriptions
🟢 ESP32 30-Pin Type-C — Best for Beginners: Fits on one side of a standard breadboard, Type-C USB, CH34x chip, compatible with every tutorial in this guide. Start here. ✅
🔷 ESP32 38-Pin Type-C — More GPIO: All GPIO exposed for complex builds with multiple sensors, motor drivers, or display modules.
🔬 ESP32-C3 Super Mini — Most Compact: RISC-V, WiFi + BLE 5.0, ultra-compact footprint — perfect for wearables and tight enclosures. 💰
🤖 ESP32-S3 N16R8 — AI-Ready: LX7 core, native USB OTG, AI vector acceleration, 16 MB Flash, 8 MB PSRAM — for demanding projects.
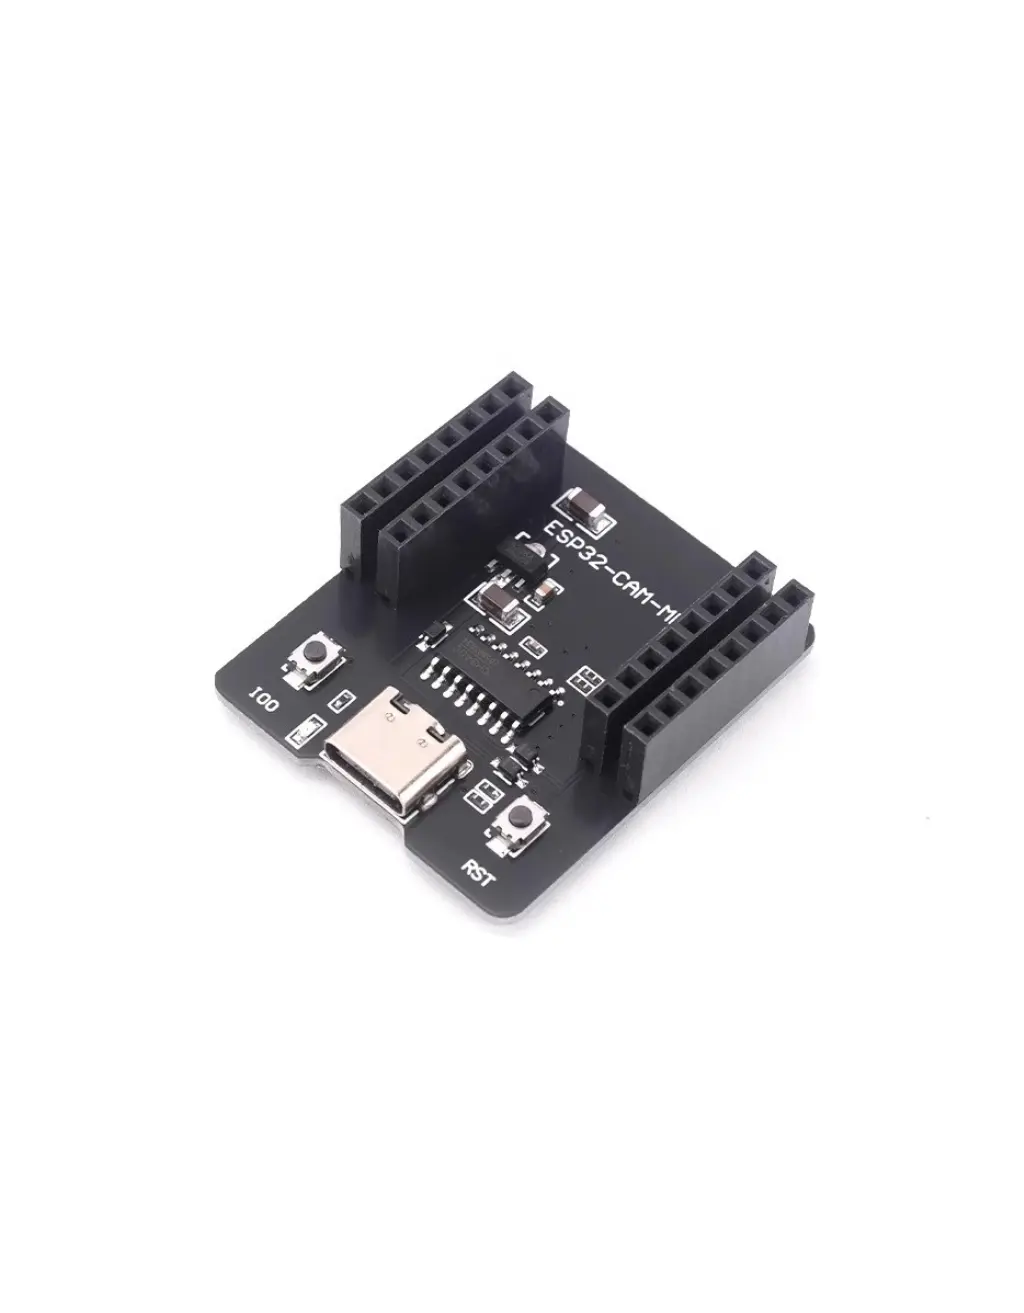
📷 ESP32-CAM — Machine Vision: OV2640 2MP camera + microSD + WiFi streaming. Requires the Type-C Programmer Board for uploading code.
⚖️ ESP32 vs Arduino Uno — What’s the Difference?
If you have explored electronics before, you have probably heard of Arduino Uno. When compared side-by-side with ESP32, the difference is dramatic. 📊
| Specification | Arduino Uno (R3) | ESP32 (30-Pin Type-C) |
|---|---|---|
| Clock Speed | 16 MHz | Up to 240 MHz ⚡ |
| SRAM | 2 KB | 520 KB (260× more) |
| Flash Memory | 32 KB | 4 MB (typical) |
| WiFi | ❌ None | ✅ Built-in 802.11 |
| Bluetooth | ❌ None | ✅ BT 4.2 + BLE |
| PWM Channels | 6 | 16 |
| CPU Cores | 1 (single core) | 2 (dual core) |
| Deep Sleep | ~15 mA (no sleep) | ~10 µA ✅ |
Arduino Uno operates at 5V, making it easier to use with older sensors without level-shifting. ESP32 is dramatically more capable: faster, more RAM, wireless built in. For almost any project in 2026, ESP32 is the smarter investment. Both have their place — knowing both makes you a better hardware engineer. 💪
💻 Development Environment Setup (Arduino IDE)
Before writing code, you need to set up your programming environment. Always use Arduino IDE 2 over the older 1.x — it has autocomplete, better library management, and a much cleaner experience. 🛠️
Download directly from the official website, or install from the Microsoft Store on Windows (auto-updates automatically). Both are completely free. We recommend Arduino IDE 2 for all new learners.
- 1Install Arduino IDE 2
Use one of the download buttons above. Run the installer and accept all defaults. Arduino IDE 2 has autocomplete, Serial Plotter, and is significantly better than 1.x — always use IDE 2. ✅
- 2Add the ESP32 Boards Manager URL
Open Arduino IDE → File → Preferences. In the “Additional Boards Manager URLs” field, paste this URL exactly:
https://raw.githubusercontent.com/espressif/arduino-esp32/gh-pages/package_esp32_index.json - 3Install the ESP32 Board Package
Go to Tools → Board → Boards Manager. Search “esp32”. Click the result by Espressif Systems → Install. Downloads ~250 MB. Wait for it to complete fully. 📦
- 4Install the USB Driver 🔌
Dream RC’s ESP32 Type-C boards use the CH34x USB chip. Download the correct driver, install it, reboot your PC, then plug in your ESP32.
🔧CH340 / CH34x DriverUsed on Dream RC ESP32 Type-C boards. Most common in Bangladesh market.🔧CP2102 Driver (Silicon Labs)Used on some other ESP32 boards. Check the USB chip marking if unsure. - 5Select Board and COM Port
Tools → Board → ESP32 Arduino → ESP32 Dev Module for 30-pin or 38-pin boards. Then Tools → Port → select your COM port (e.g., COM3 on Windows; /dev/ttyUSB0 on Linux). 🎯
- 6Verify Upload Settings
Defaults work for 90%+ of boards: Upload Speed 921600 · Flash Frequency 80 MHz · Flash Mode QIO · Partition Scheme Default 4MB with spiffs. Leave as-is unless you have a specific reason to change.
Dream RC product pages clearly state the USB chip for each board (CH34x for current Type-C stock). If you bought from another local shop, look at the small black IC near the USB port — “CH340” or “CH341” → use CH340 driver; “CP2102” → use Silicon Labs driver. Both links provided above. 🔌
💡 First Project — Blink an LED
Every electronics journey starts with blinking an LED — the “Hello, World!” of hardware programming. 🌟 It confirms your board works, drivers are installed, and code is uploading correctly.
🧰 What You Need
- ESP32 development board (30-pin Type-C recommended)
- 1 × LED (any color)
- 1 × 220Ω or 330Ω resistor — ⚠️ never skip the resistor!
- Breadboard + jumper wires
- USB Type-C data cable
Use GPIO2 — available on all standard ESP32 Dev Module boards. Many boards have an onboard LED on GPIO2, so the blink code works even without external wiring — great for testing your upload setup first. 😊
Connecting an LED directly to a GPIO pin without a resistor can permanently damage the pin or destroy the LED. Use minimum 220Ω in series. A 330Ω resistor dims it slightly but protects your hardware. 🛡️
📝 Blink Code
📤 How to Upload
- Paste code into a new sketch (File → New Sketch)
- Confirm ESP32 Dev Module is selected under Tools → Board
- Select your COM port under Tools → Port
- Click the Upload button (→ arrow icon)
- When you see “Connecting…” with dots — hold the BOOT button for 1 second, then release
- When you see “Hard resetting via RTS pin…” — upload succeeded ✅
- Open Tools → Serial Monitor, baud rate 115200, watch “LED ON / LED OFF” messages
📶 ESP32 WiFi Explained
WiFi is what truly separates ESP32 from almost every other beginner microcontroller. 🌐 The chip supports three distinct WiFi modes, each designed for different project scenarios.
ESP32 joins your existing WiFi router. Gets a local IP and can reach the internet or other devices on the network.
ESP32 creates its own WiFi hotspot. Phones connect to it directly. No router needed — works anywhere. 🏕️
Both modes simultaneously. Connects to a router AND creates its own hotspot. Used for device provisioning. 🔁
All ESP32 variants support only 2.4 GHz WiFi. If your router uses 5 GHz only, ESP32 will not connect. Most Bangladesh home routers are dual-band — connect to the 2.4 GHz band (often labeled “2.4G”). 📡
🌐 Build a Simple Web Server — Control LED from Your Browser
This project turns your ESP32 into a tiny web server. 🖥️ Open your phone browser, type the ESP32’s IP address, and tap buttons to control an LED in real time — no apps, no Bluetooth, no cloud required.
HTTP routing · HTML response generation · WiFi Station mode · GPIO control · Serial Monitor IP debugging. Master this and you have the foundation for 80% of real-world ESP32 IoT projects. 🚀
📝 Complete Web Server Code
📱 How to Access the Web Server
- Upload the code. Open Tools → Serial Monitor at 115200 baud
- Wait for “✅ Open this IP in your browser: 192.168.x.x” — note the IP
- On your phone/laptop — same WiFi network! — open any browser
- Type the IP address in the address bar, press Enter 🌐
- Tap “Turn ON” or “Turn OFF” to control the LED in real time ✅
server.handleClient() is in loop(). Check LED wiring polarity.🛒 ESP32 & Related Boards at Dream RC Bangladesh
Dream RC is one of Bangladesh’s trusted sources for genuine, tested development boards. 🇧🇩 All boards below are tested before listing and available for fast nationwide delivery.
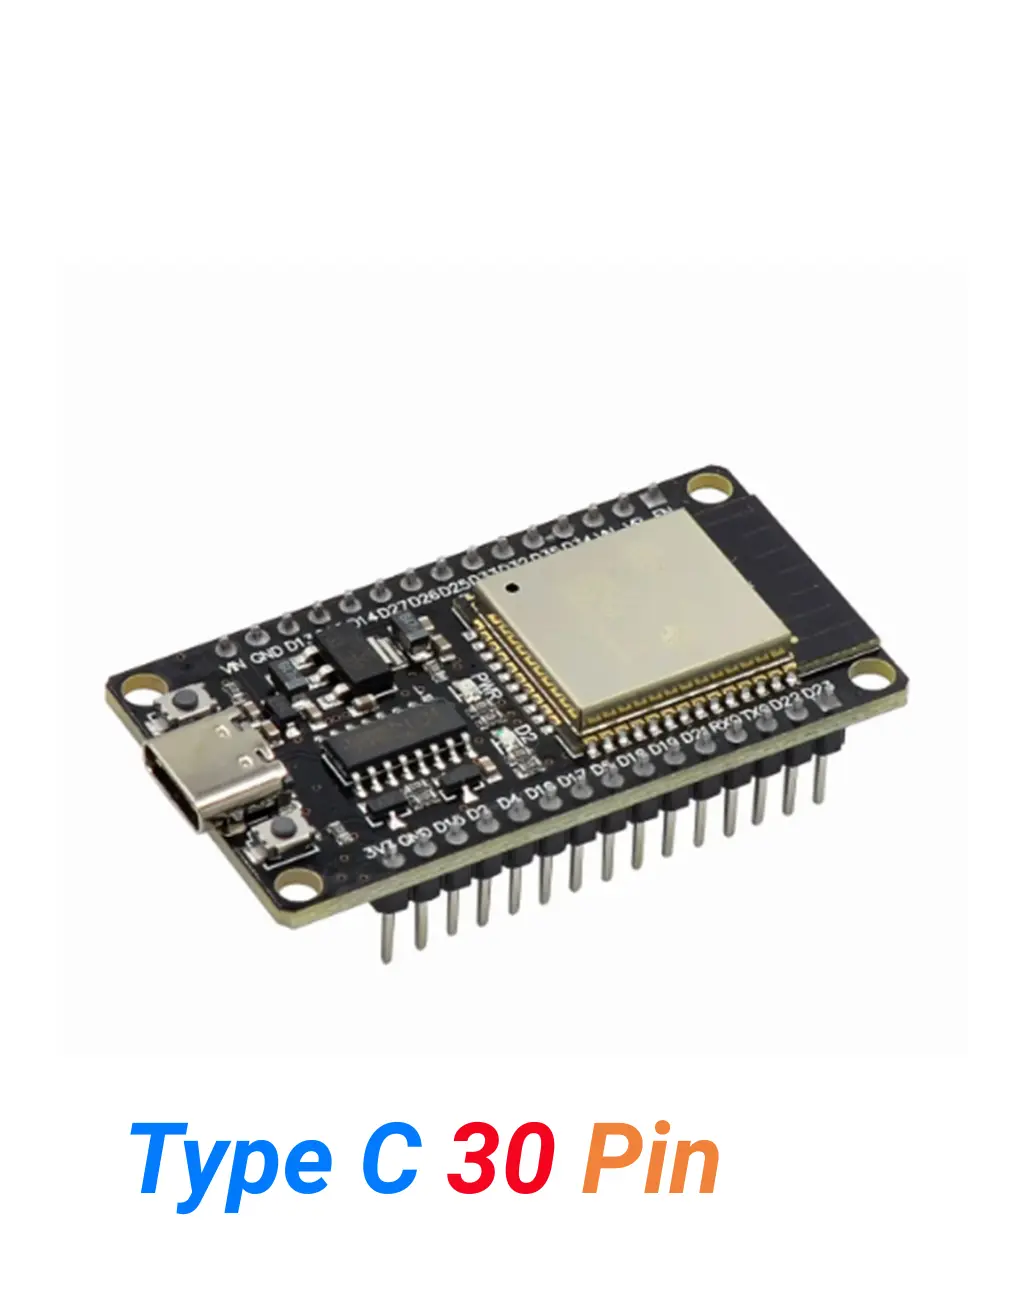
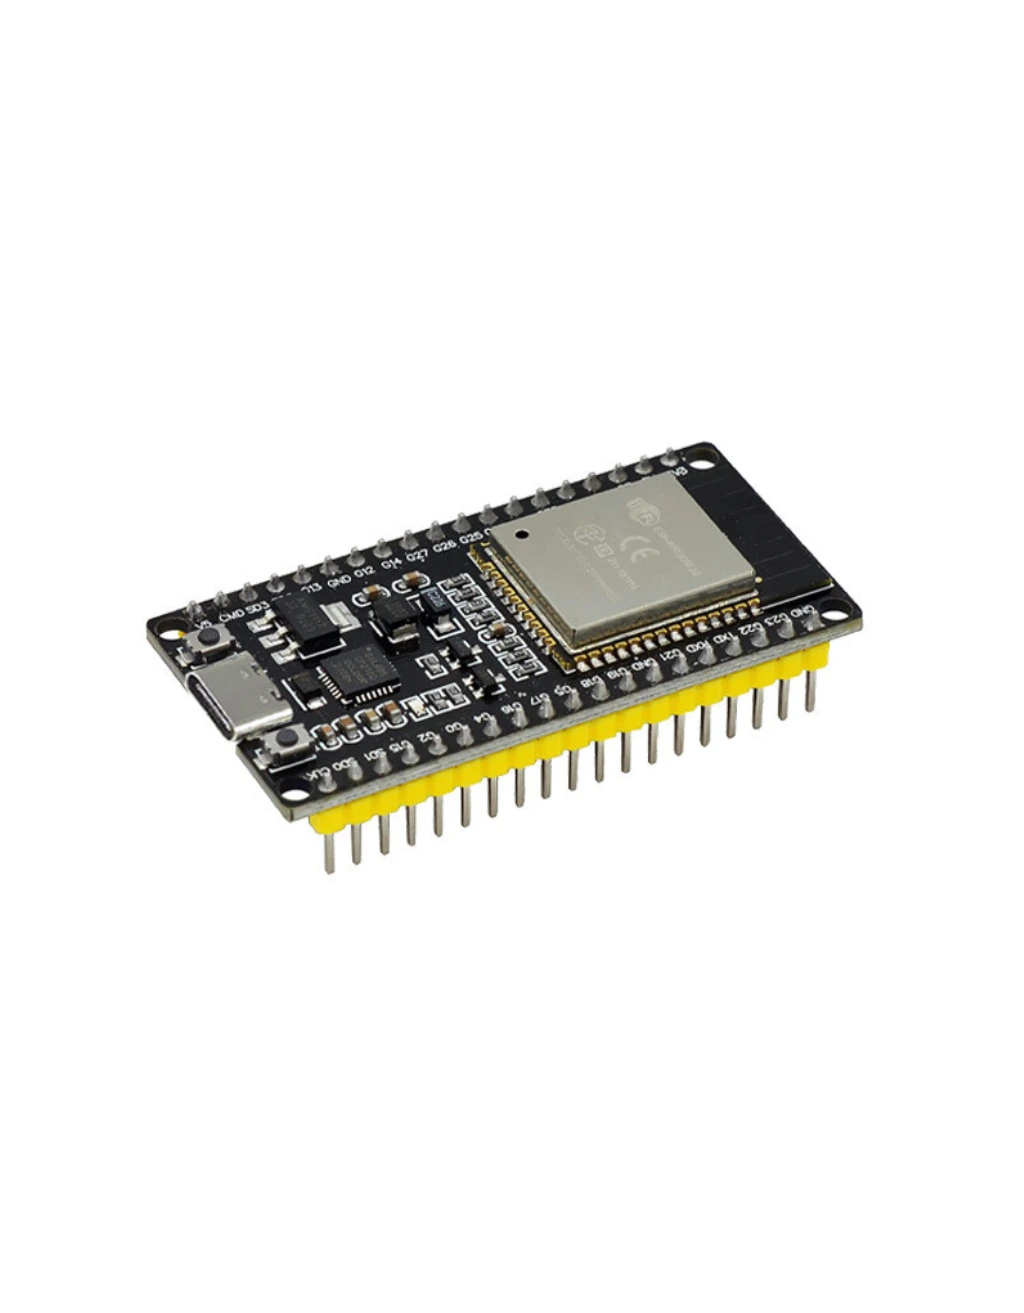
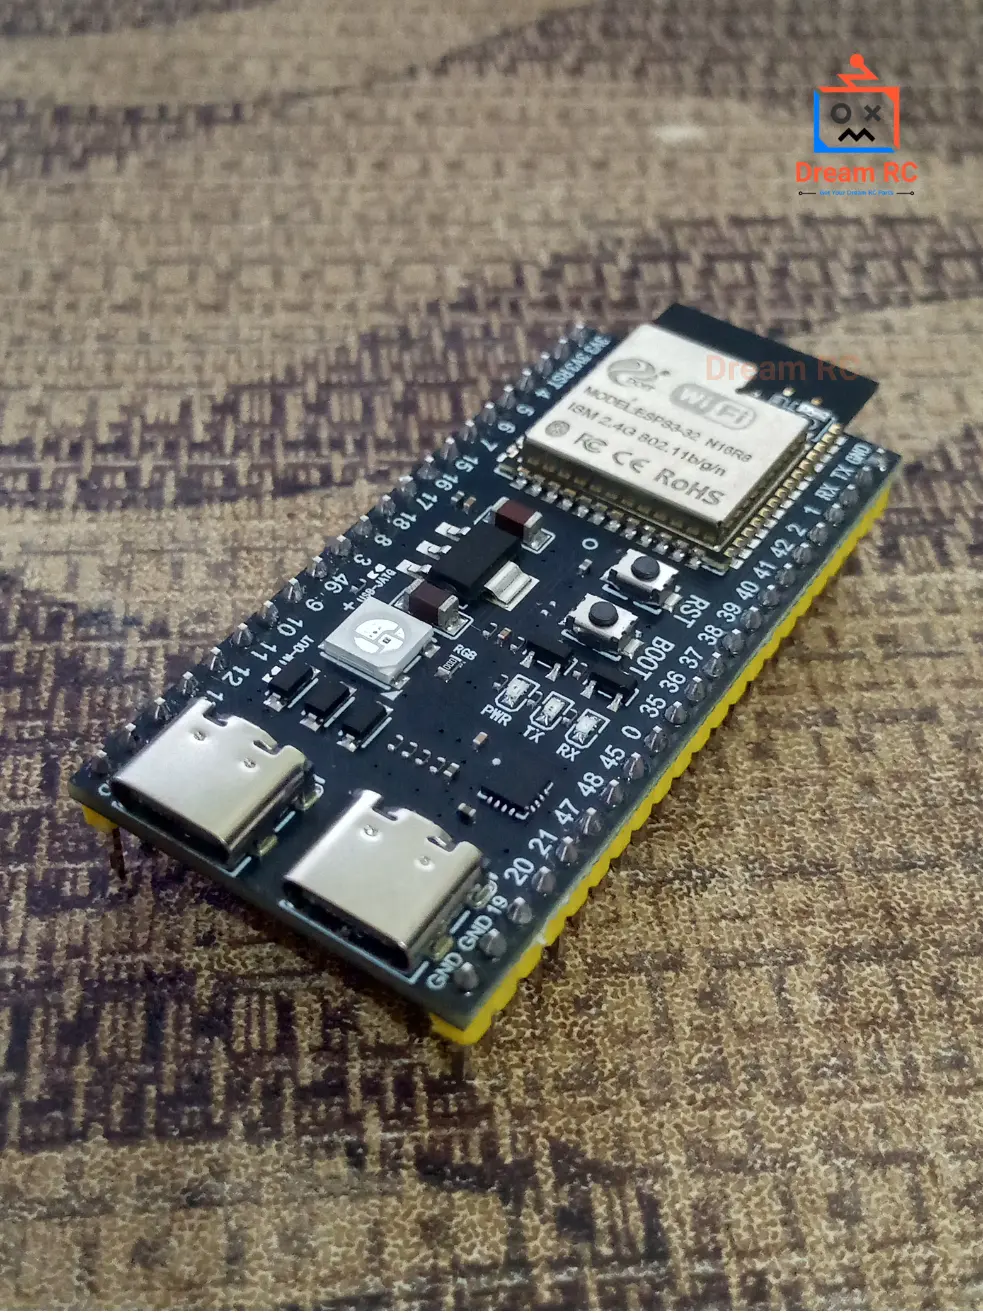
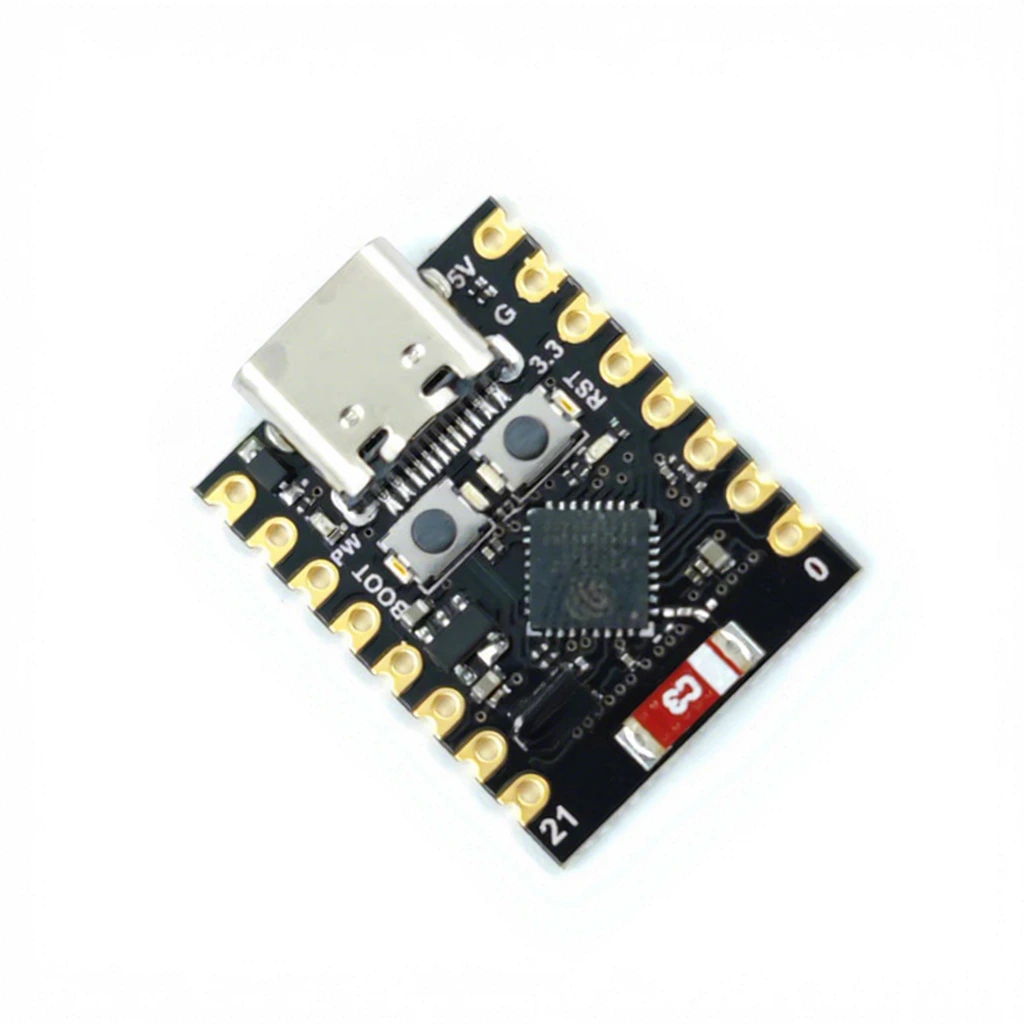
We are not just a shop. Dream RC exists to make electronics and robotics accessible to every student, engineer, and maker in Bangladesh — from Dhaka to Sylhet to Chittagong. Every guide we publish, every component we stock, and every question we answer is part of that mission. 💪
❓ Frequently Asked Questions
The ten most common questions from ESP32 beginners in Bangladesh — answered directly and accurately. 📋
✅ Conclusion — Your ESP32 Journey Starts Now
You made it through the complete ESP32 beginner guide! 🎉 That already puts you ahead of the majority of people who pick up an ESP32, feel overwhelmed, and put it back in the drawer.
Everything in this guide — the setup, the LED blink, the WiFi modes, the web server — are real building blocks. Stack them. Combine them with sensors, motors, and displays available at Dream RC. Each project you complete makes the next one faster to build. 🏗️
The most important principle in hardware learning is simple: build something today. Do not spend weeks reading and planning. Wire up the LED, upload the blink code, watch it flash, and feel that spark. That is the moment electronics becomes something you cannot stop. ⚡
Dream RC is here to support your journey every step of the way — with genuine components, accurate documentation, and guides written specifically for the Bangladesh context. Whether you are a student in Dhaka, an engineer in Chittagong, or a maker in Sylhet — we deliver fast and stock what you actually need. 🇧🇩
📝 About This Guide: Written and maintained by the Dream RC team. Last reviewed January 2026. All code examples tested on ESP32 Type-C 30-Pin with Arduino IDE 2.3 and ESP32 Arduino Core 3.x. Technical specifications sourced from official Espressif datasheets. Spot an error? Contact us via dream-rc.com. 🇧🇩